Add or remove external removable storage device to the allowlist
As a security measure, CatchPulse users can prevent external storage devices from reading and writing to the PC. However, exceptions to this rule are possible on a per external removable storage device basis via allowlisting.
To add or remove external storage device in or from the external storage device allowlist
-
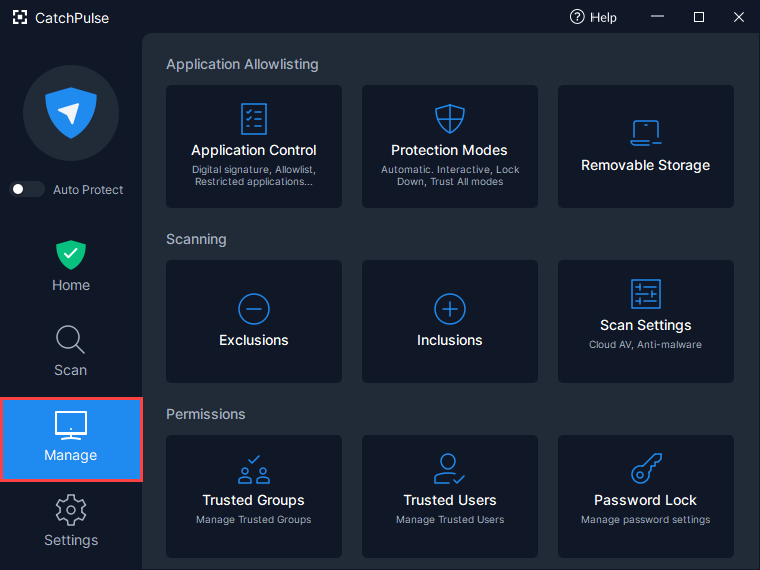
Launch CatchPulse → Manage.
-
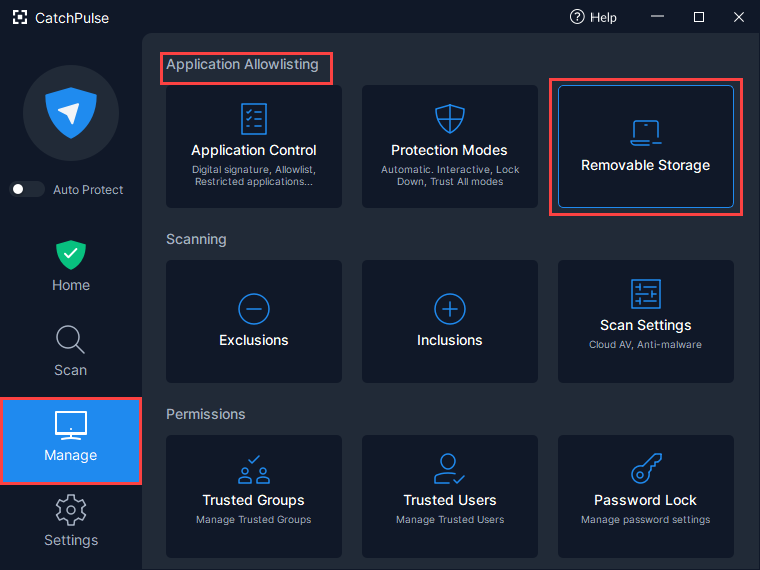
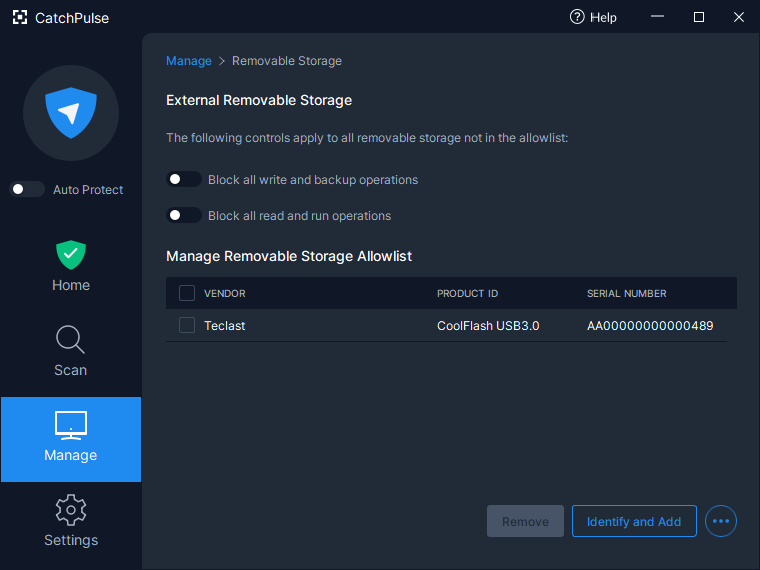
On the Manage menu, click on Application Allowlisting → Removable Storage.
If a removable storage device is allowlisted, the removable device will have read and write access.
Items on a allowlist are granted access to the system allowing them to be installed, altered, and communicated with over the private's network. The goal of having a allowlist is to protect a private network and its devices from outside attacks. Allowlisting is the direct opposite of blacklisting.
Add a removable storage device
To add an external removable storage device to the allowlist
-
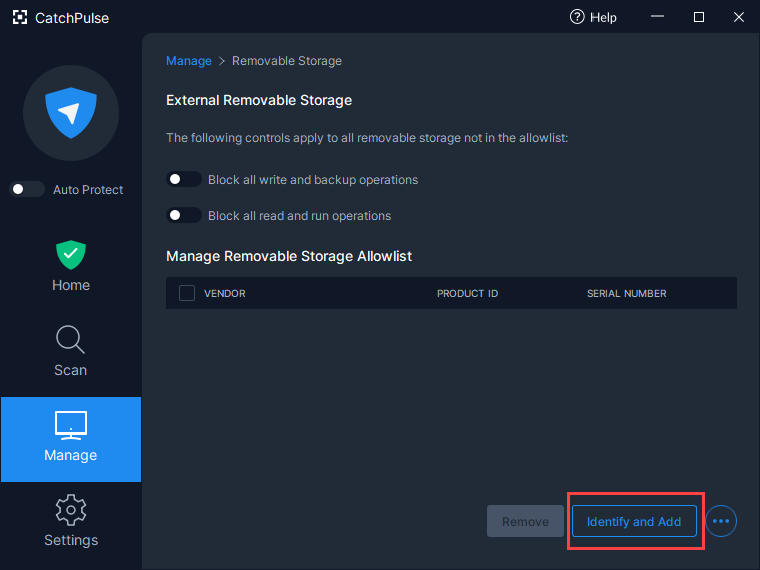
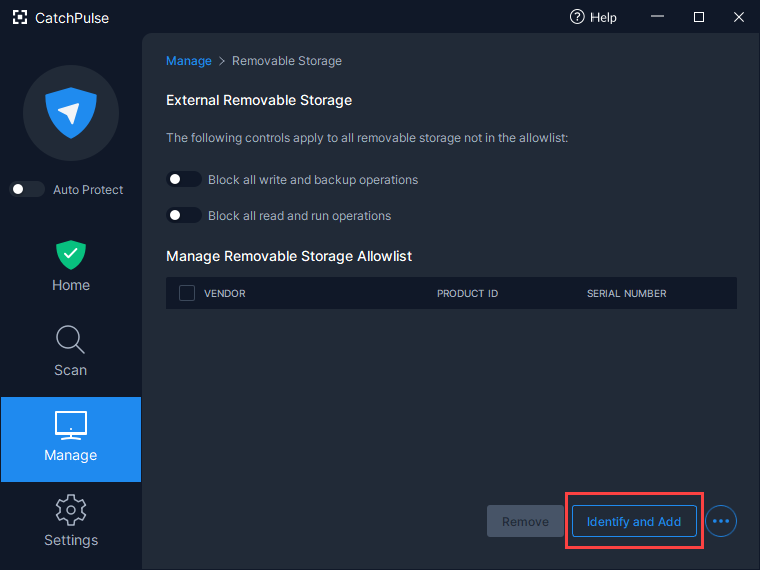
Click Identify and Add.
-
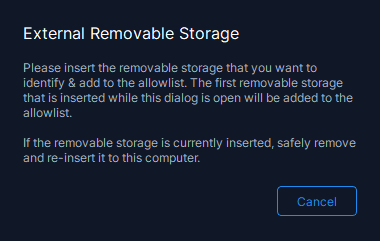
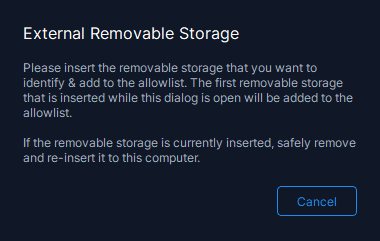
CatchPulse will prompt you to insert the external removable storage device.
-
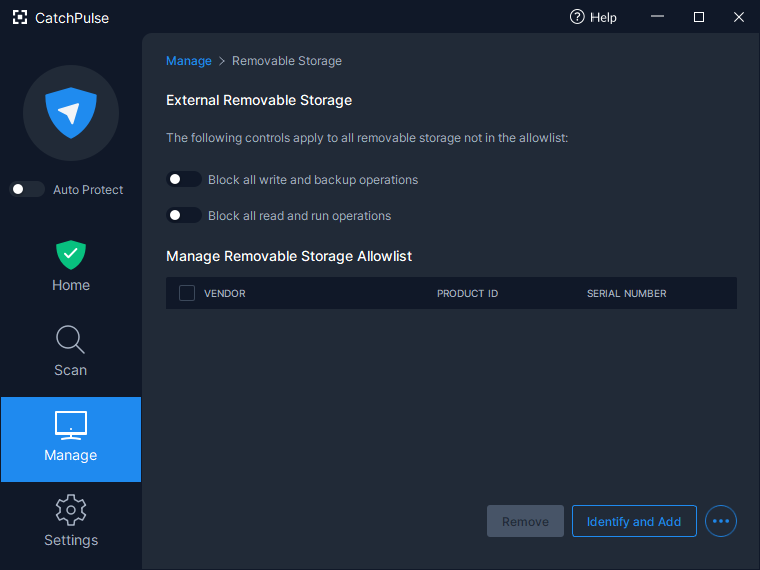
CatchPulse will automatically detect the removable storage and add it to the allowlist.
Remove removable storage device
To remove the external removable storage from the allowlist
-
Click Identify and Add.
-
CatchPulse will prompt to insert the external removable storage device to be removed.
-
CatchPulse will automatically detect the external removable storage device and remove it from the allowlist.
To remove the selected removable storage device from the allowlist
-
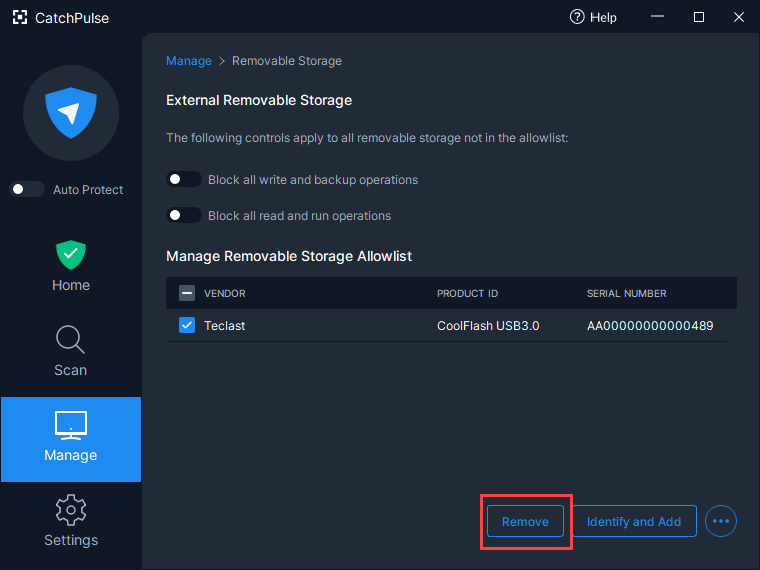
Check on the removable device from the list you want to remove and click Remove.
-
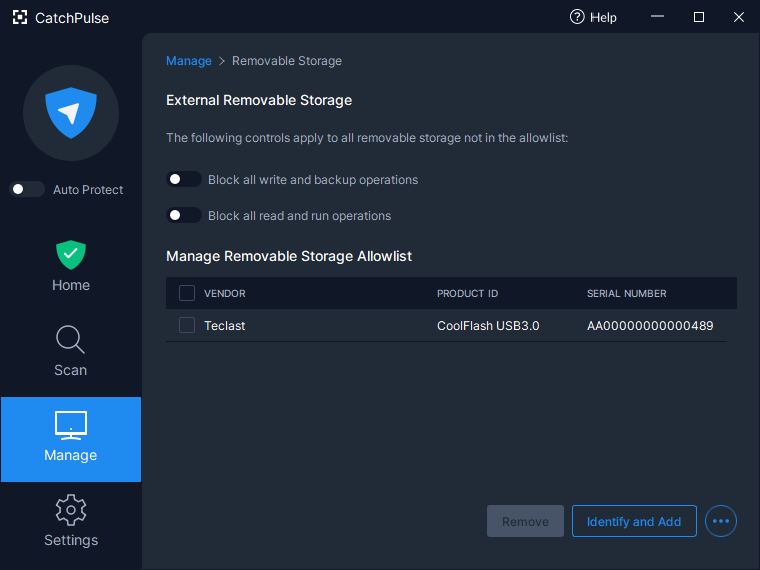
The selected removable storage device will be removed from the allowlist.
Support and feedback
Should you encounter any issues using CatchPulse with any of the mentioned or missed requirements above, you can write to us at docs@secureage.com.
This page was last updated: January 02, 2026

