Exclude folders or files for scanning
To exclude a list of folders or files from scanning by the AV (Offline AV and Cloud AVs) and uploaded the file(s) to Cloud AV
-
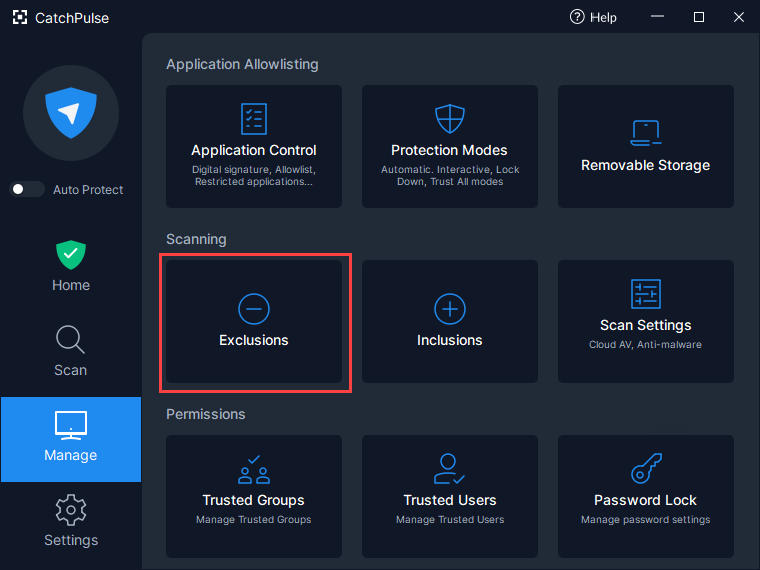
Launch CatchPulse → Manage.

-
In the Managetab, click on Exclusions.
-
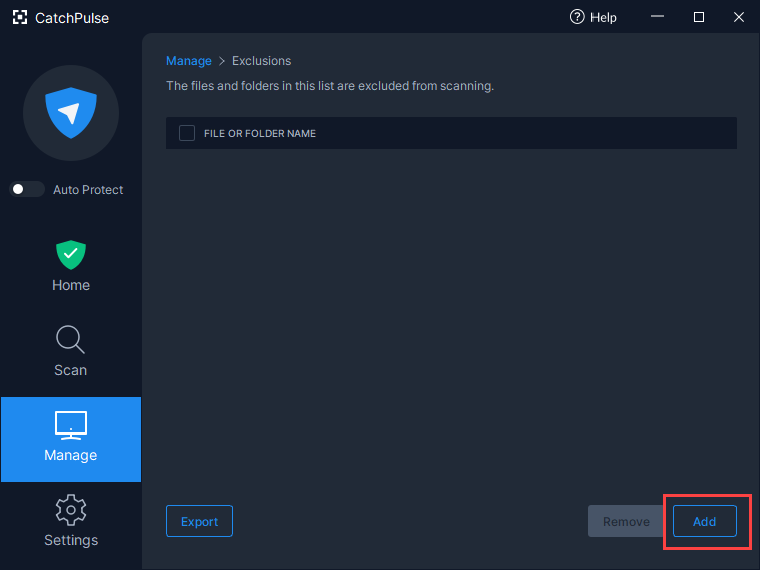
Click Add File / Add Folder in the Exclusions tab.
-
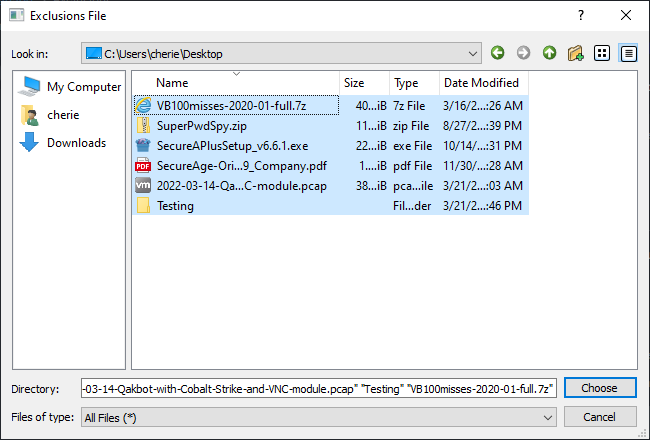
Select the folder or file to be excluded for scanning and click on Choose button.
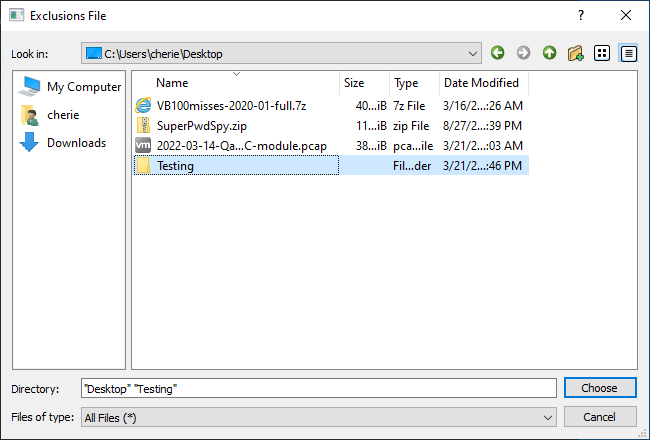

Note: To select multiple files, you can use Ctrl + Click.

Note: To select multiple files in a block, start by clicking the first file, navigate to the last file, and use Shift + Click.
-
The newly added folder or file(s) to be excluded for scanning will be added to the exclusions list.

The files or the files inside the folders (or sub folders), will also be excluded from uploading to Cloud AV.
Remove folders or files to be excluded
To remove the list of folders or files from scanning by the AV (Offline AV and Cloud AVs) and uploaded the file(s) to Cloud AV
Note: This includes the folders or files (undo ignore permanent file permanently) back to scanning by the AV (Offline AV and Cloud AVs) and uploaded to Cloud AV
Under the exclusion list, click on the box to the left to mark (with a checkmark) the folder or file(s) to be removed and click on Remove button. The selected folder or file(s) will be removed from the exclusions list and will be included for scanning.
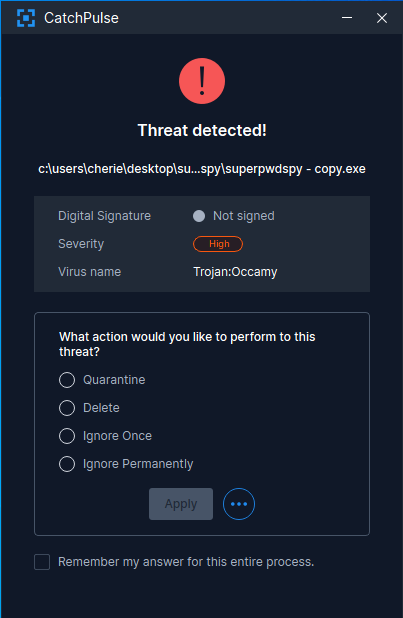
File exclusion during real-time scanning
CatchPulse will prompt you when there is a threat detected. When you are sure that it is not a threat, click Ignore Permanently. This will put the file into the list of exclusions which will be excluded from real-time scanning. You will not be prompted for further action on the file anymore.
If you have reason to believe that this file is no longer safe, you have to manually remove it from the list of exclusions for it to be included in the scan and be prompted if a threat is detected
Support and feedback
Should you encounter any issues using CatchPulse with any of the mentioned or missed requirements above, you can write to us at docs@secureage.com.
This page was last updated: May 12, 2026