Collect dump files for CatchPulse support
Jump to:
For CatchPulse Application Crash
To help diagnose issues pertaining to CatchPulse on your computer, here's how you can prepare the Dump Files to send to the CatchPulse Support Team.
-
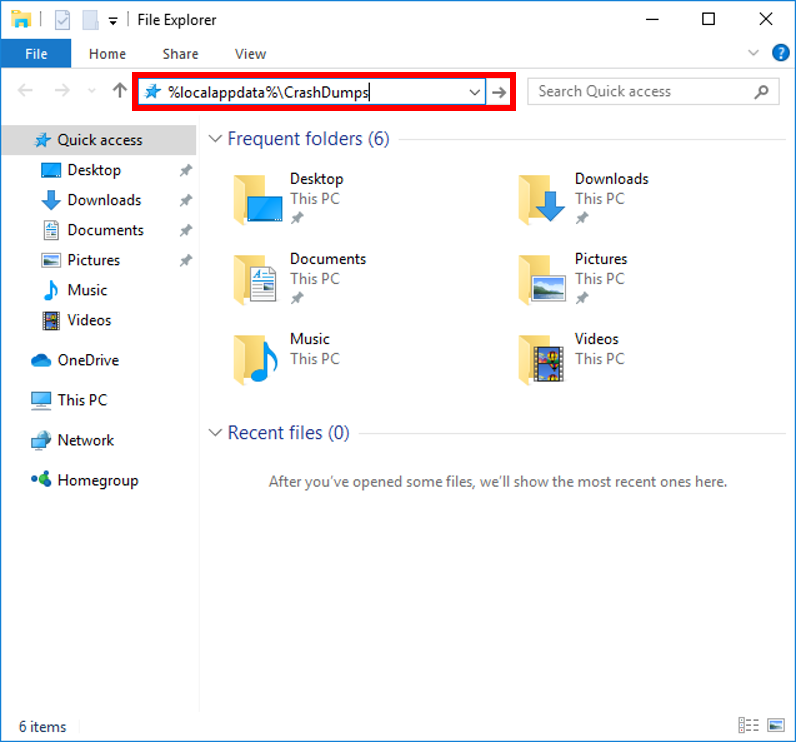
For application crash, type the following folder location on Windows Explorer and hit Enter:
%localappdata%\CrashDumps
-
Compress only the dump file(s) that matches the following name:
-
SecureAPlus.exe.xxxx.dmp
-
CatchPulse.exe.xxxx.dmp
-
sanotifier.exe.xxxx.dmp
-
UAVScanResult.exe.xxxx.dmp
-
SAScanner.exe.xxxx.dmp
Note: The file names above are only the example of some applications, our support personnel may ask for different file if it is necessary.
-
For CatchPulse Service Crash
-
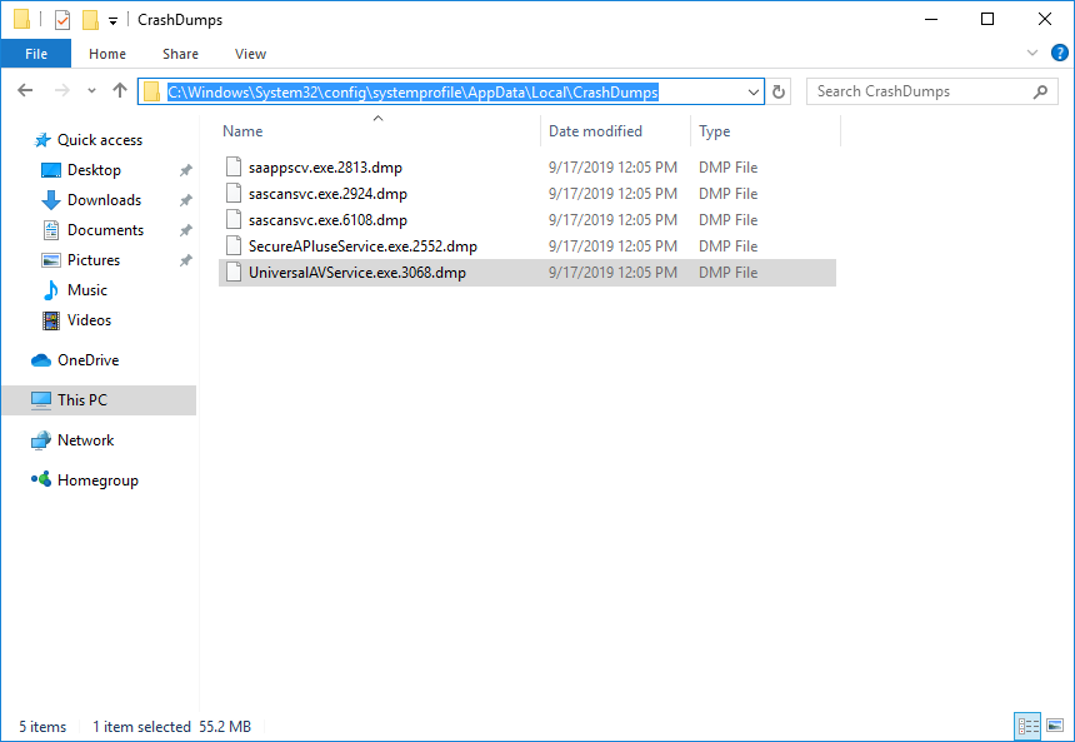
If any of the CatchPulse services is not running, go to the following folder:
C:\Windows\System32\config\systemprofile\AppData\Local\CrashDumps
-
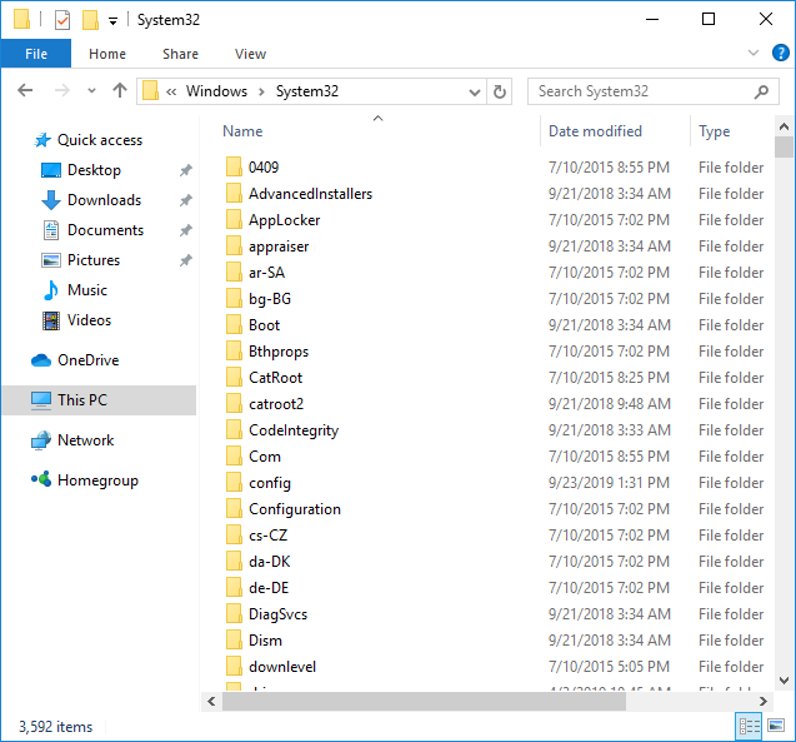
From Windows File Explorer, first go to
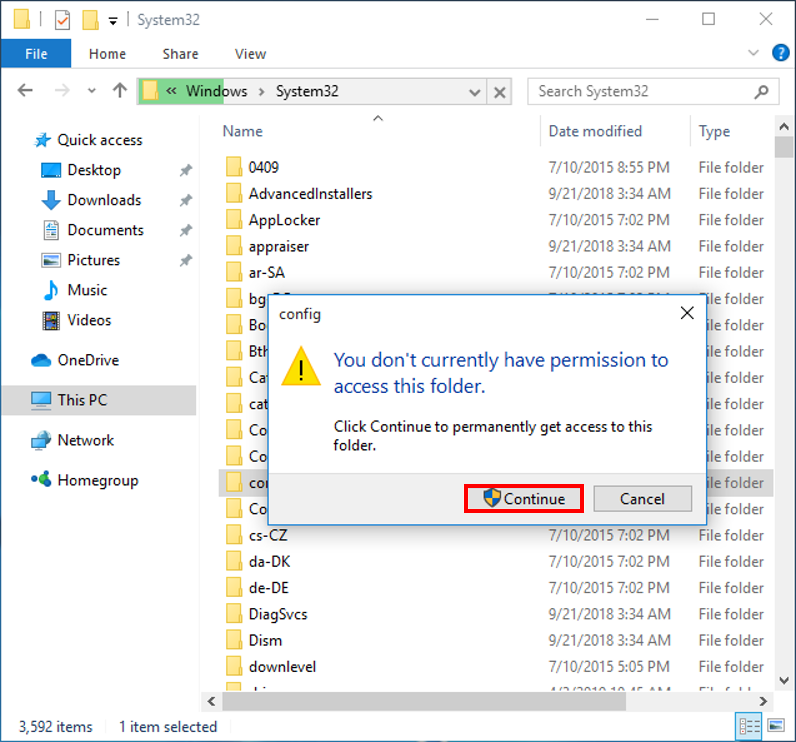
C:\Windows\System32
-
In
C:\Windows\System32, click on config folder.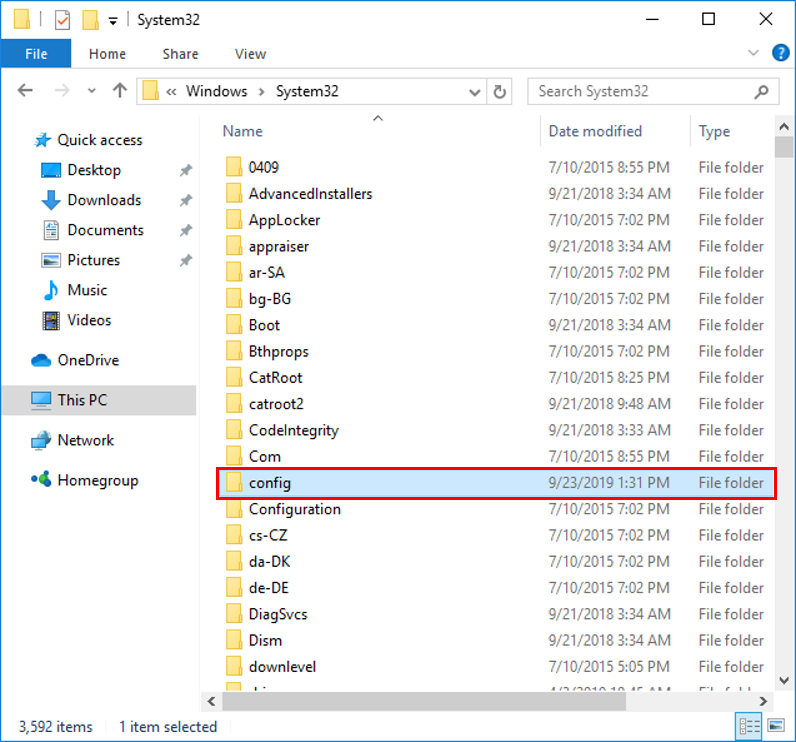
-
Windows will prompt you that You don’t currently have permission to access this folder. Click on Continue to grant yourself the access rights.
-
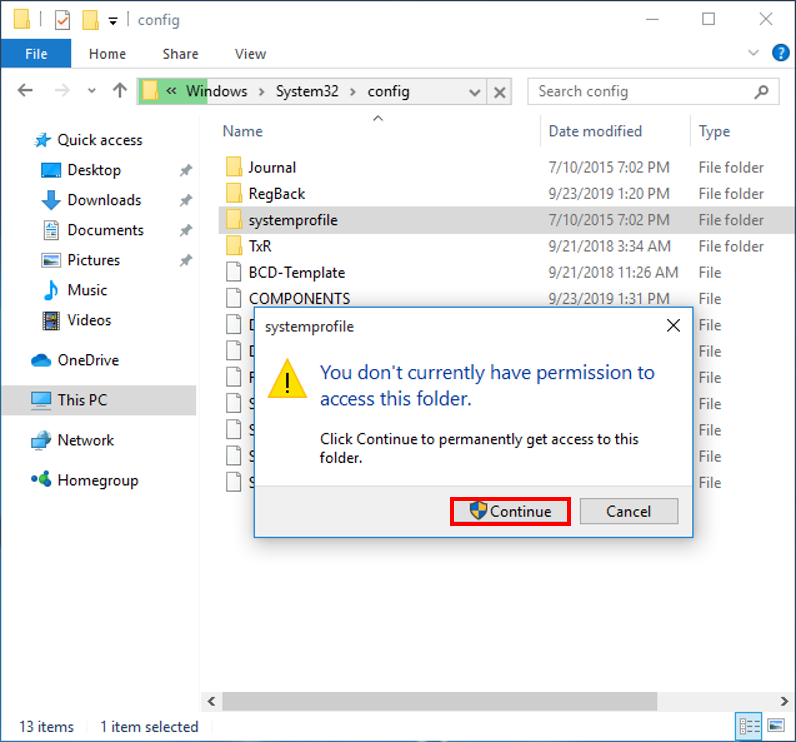
Click on systemprofile folder, similarly, click on Continue to grant yourself the access to this folder.
-
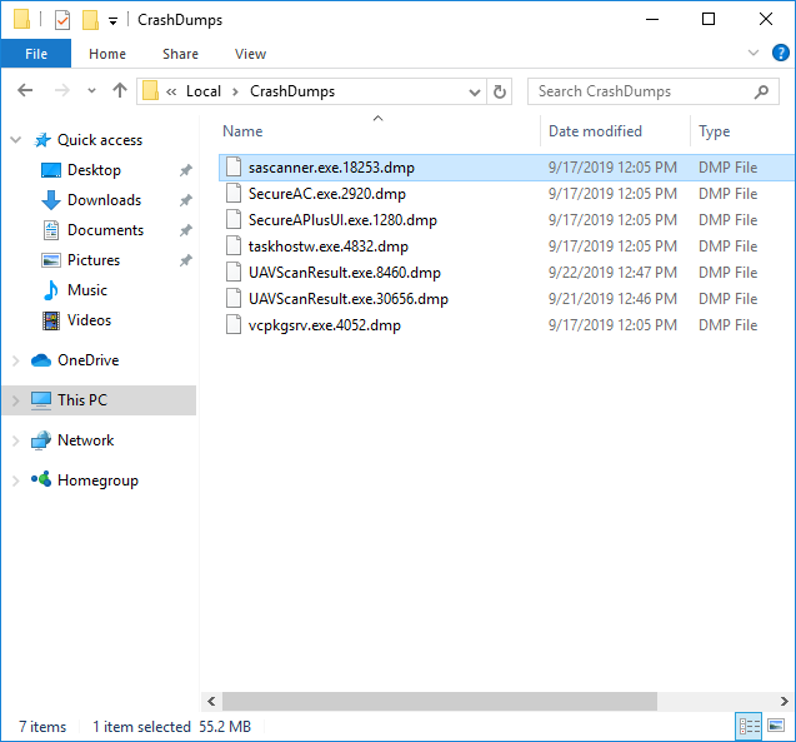
Click on AppData folder → Local folder → CrashDumps folder.
-
Compress only the dump file(s) that matches the following name:
-
saappsvc.exe.xxxx.dmp
-
sascansvc.exe.xxxx.dmp
-
SecureAPlusService.exe.xxxx.dmp
-
UniversalAVService.exe.xxxx.dmp
-
For Blue Screen
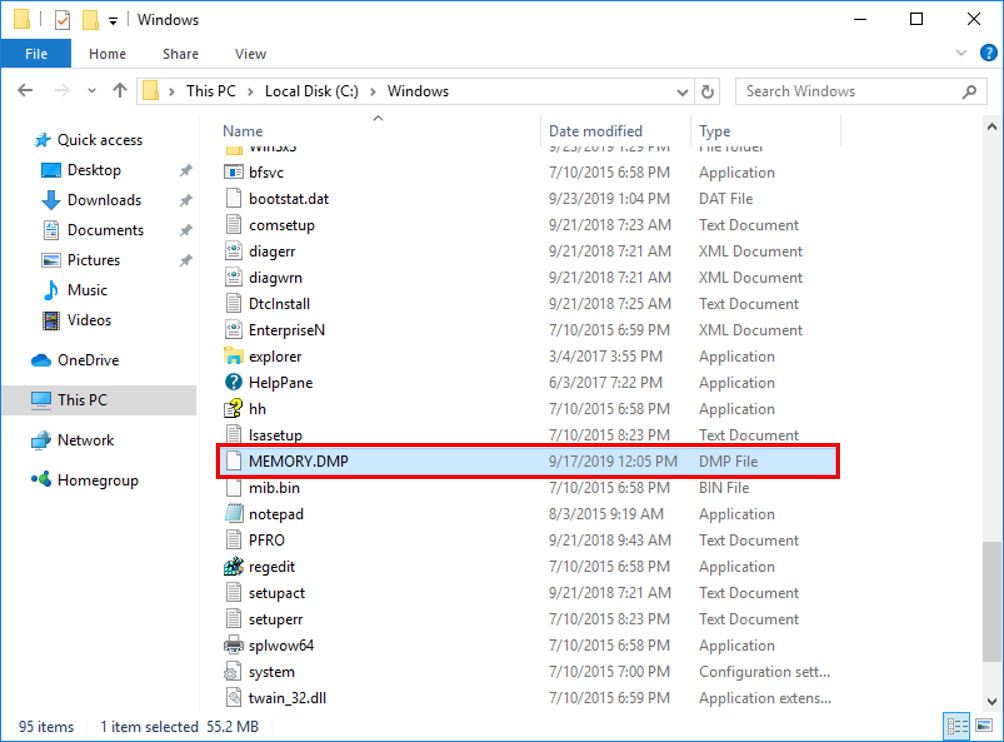
If you encounter a blue screen, go to the following folder and compress the dump file
C:\Windows\MEMORY.DMP
For Windows 10, follow the steps below to enable the memory dump
-
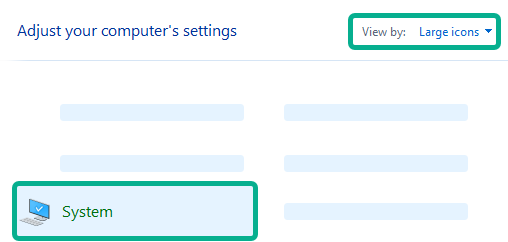
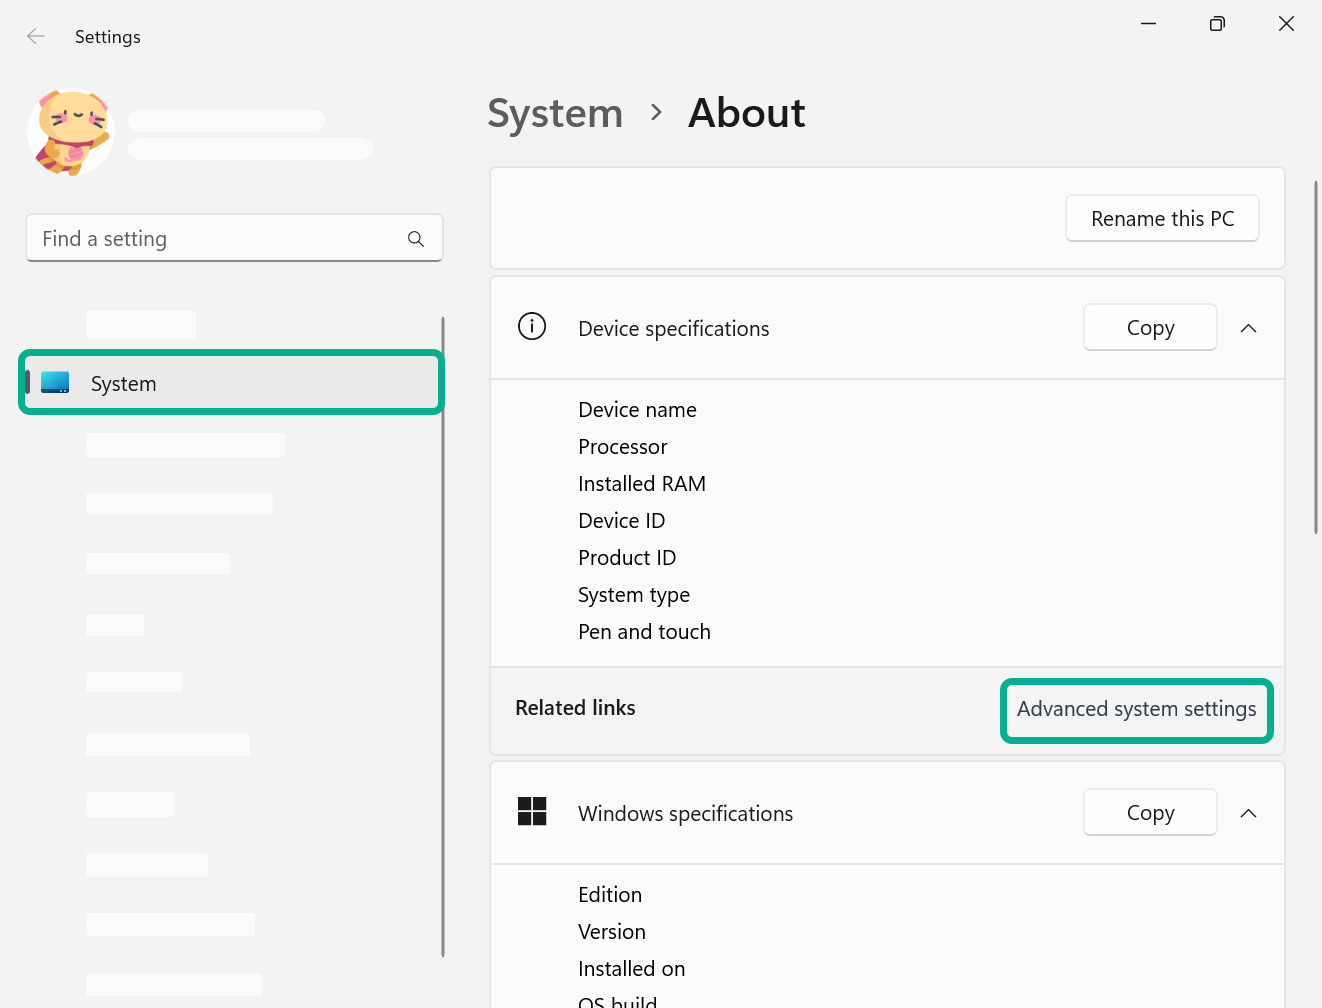
Go to Control Panel → View by: Large Icon → System.
-
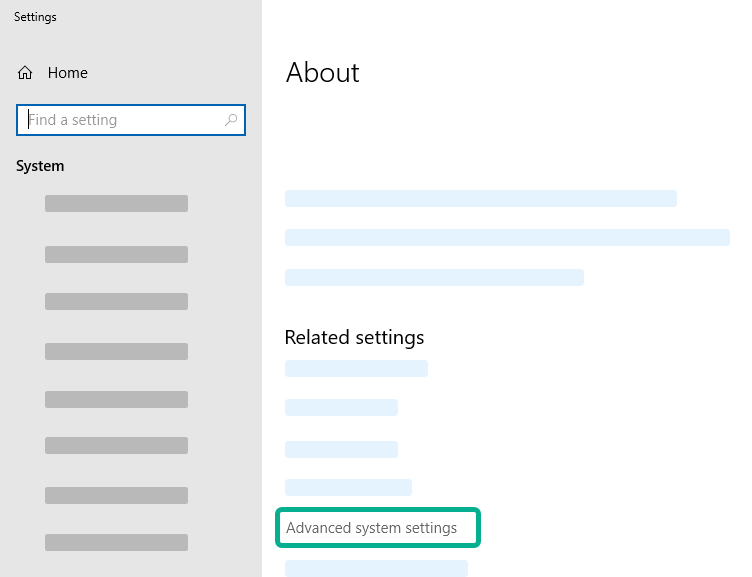
Advanced System Settings
-
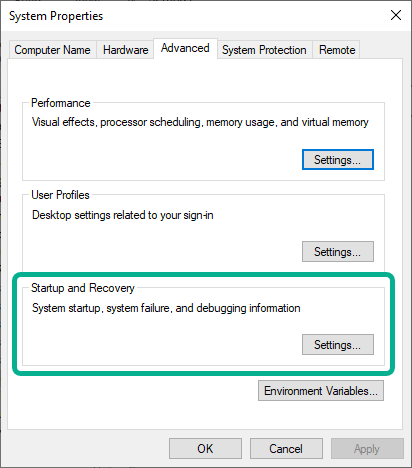
Go to Advanced tab.
-
In the Startup and Recovery section, click Settings.
-
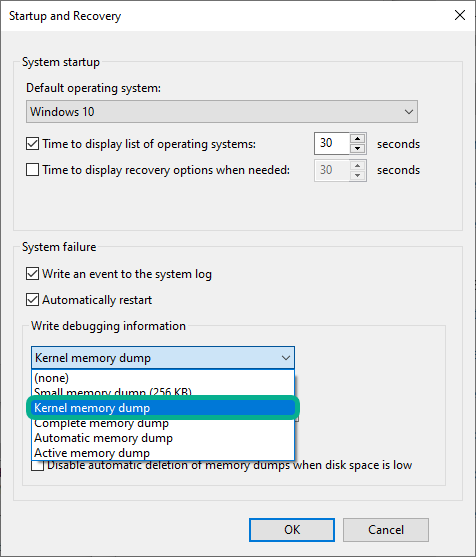
In the Write debugging information section, select Kernel memory dump on the first drop-down list, and click OK.
-
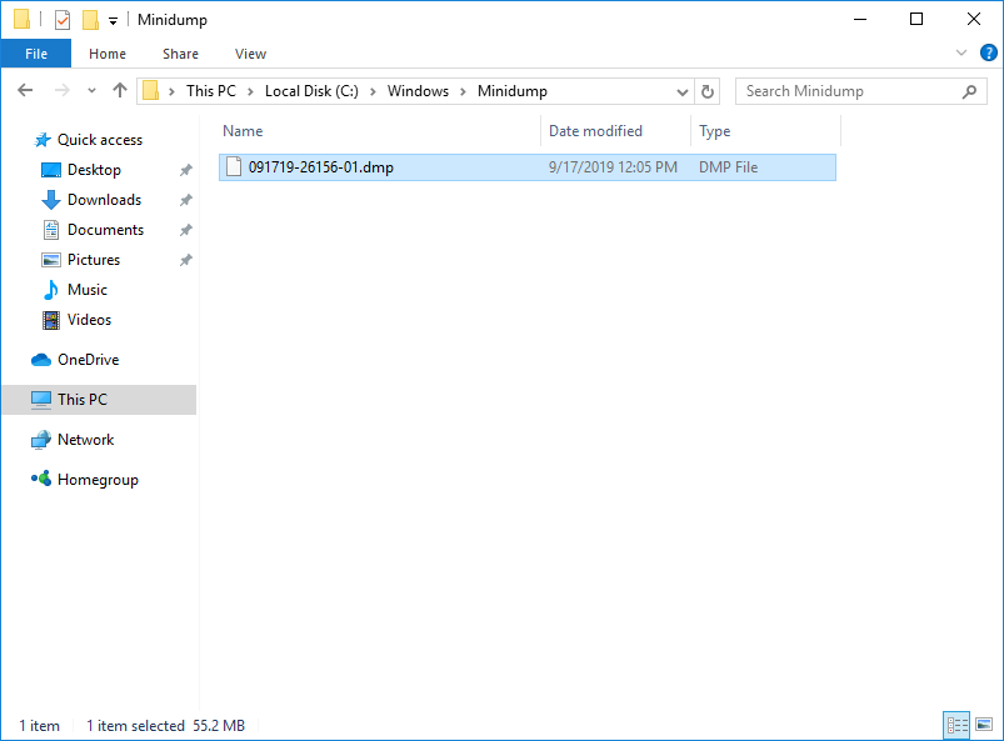
You may also check the following folder:
C:\WINDOWS\Minidump
For Windows 11, follow the steps below to enable the memory dump
-
Go to Control Panel → View by: Large Icon.
-
System → Advanced system settings.
-
Go to Advanced tab.
-
In the Startup and Recovery section, click Settings.
-
In the Write debugging information section, select Kernel memory dump on the first drop-down list, and click OK.

-
You may also check the following folder:
C:\WINDOWS\Minidump
Preparing the Dump File
Follow the steps below to use Windows built-in Compressed (zipped) feature to compress files.
-
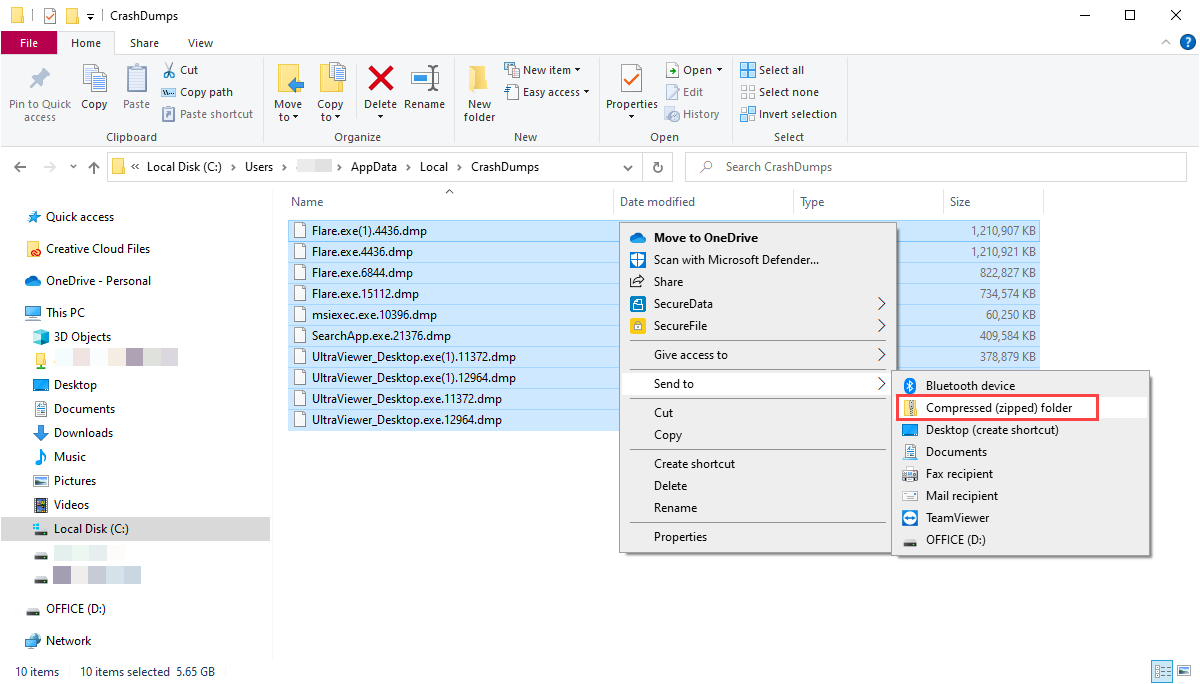
Select and right-click the dump file(s), select Send to → Compressed (zipped) folder.
Alternatively, you can use.ZIP, RAR, or .7-Zip archive/ container to compress the log folder.
Submit the Dump Files to the CatchPulse Support Team
-
Attach the compressed file to an email and send it to the following email address:
-
Use Report CatchPulse Issues as the email subject line and include as much of the following details as possible:
-
Windows Operating System Version
-
CatchPulse Version
-
Name of Other Antivirus Software and the Version, if any
-
Description of Issues Encountered
Note: Reporting of CatchPulse issues will take some time before results/ fixes may be implemented. It is advised to provide as much information as possible to help properly diagnose the issues.
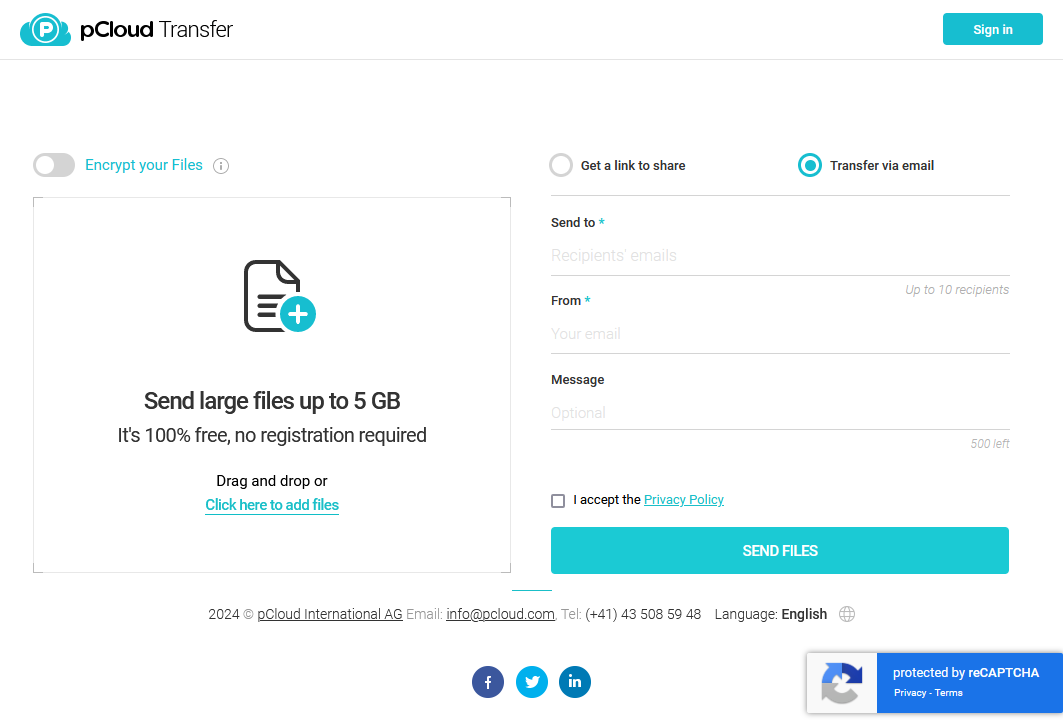
Tip: If the compressed files exceed the email attachment file size limit, you may use the following service: pCloud Transfer
-
Support and feedback
Should you encounter any issues using CatchPulse with any of the mentioned or missed requirements above, you can write to us at docs@secureage.com.
This page was last updated: May 12, 2026