Managing software update settings
This can be done by accessing your Configuring the SecureAPlus settings.
There are two types of updates available to SecureAPlus – a Software Update and a Virus Signature Update.
Follow these instructions to set up your software update settings:
Software update and settings
To access options for doing SecureAPlus Software Updates, follow the steps below:
-
Launch SecureAPlus → Click on App Settings → Click on Others → Click on Updates
-
To check if there are any new version updates, click on the Update Now button.
-
Under Software Update, you can set the following settings: Automatic Update, Notify me about the new update, Update Now.
Automatic update
By default, Automatic Update is turned on. Once it detects a new version, it will automatically update in the background without requiring any actions. You will be protected by the latest security updates.
However, for those whose machine is already experiencing heavy traffic load, the updates may sometimes slow down your system as there is an increase in the use of system resources. For this, we would recommend you to turn off the Automatic Update. This is recommended to users who also practice control over what is being downloaded and installed in their systems.
Notify me about new updates
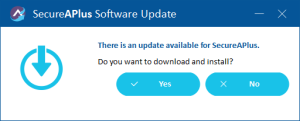
If you choose the Notify me about new update option, you will be prompted when there is a new software update.
-
When prompted, click on Yes to update.
-
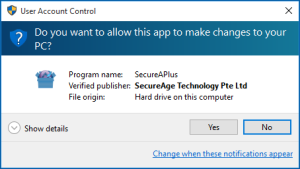
The User Account Control window will appear for certain operating systems in order to proceed with the update. Click Yes to run the setup for SecureAPlus software.
-
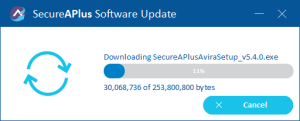
It will start to download the new update.
-
Upon completion of the download, simply follow the installation steps given in the window to complete updating SecureAPlus.


Update now
SecureAPlus will check if there are any new version updates.
-
Click on the Update Now button.
-
The SecureAPlus Software Update window will appear and start to check for new updates.
-
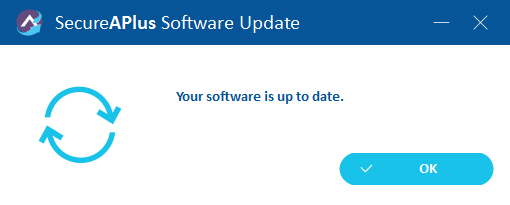
Upon completion of checking new updates, if the SecureAPlus is up to date, it will display a message saying that the software is up to date.

-
Otherwise, if there is a new software update, it will prompt you to download and install. Click on Yes to update.
-
It will then proceed to start downloading the new update.
-
Upon completion of the download, simply follow the installation steps given in the window to complete updating SecureAPlus
APEX & ClamAV update and settings
To access the options for doing SecureAPlus Virus Signature Update settings, follow the steps below:
-
Launch SecureAPlus → Click on App Settings → Click on Others → Click on Updates
-
To check if there are any new virus signature updates, click on the Update Now button.
-
Under APEX & ClamAV Update, you can find settings for Automatic Update, Update Now, Use System Proxy Settings
Automatic update
By default, Automatic Update is turned on. SecureAPlus will automatically update the antivirus data daily.
Update now
-
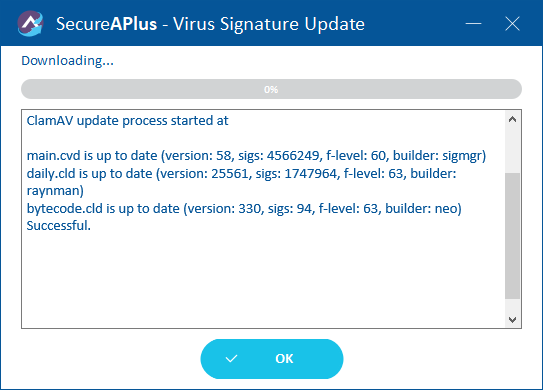
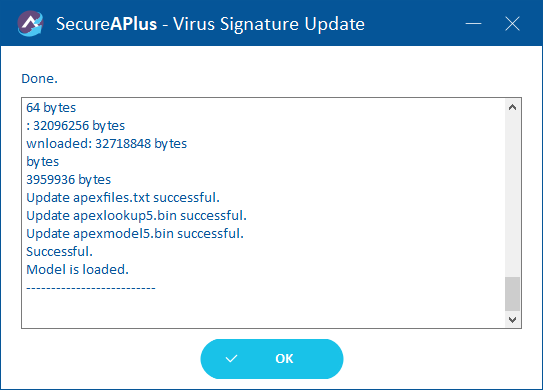
By clicking on the Update Now button, you can do a manual update on the virus signature.
-
It will download and update the virus definitions with the latest one.

-
When the update is completed, click the OK button to return to the SecureAPlus Settings.

Virus signature server
If there are any issues with the ClamAV main server (database.clamav.net), you can switch to another mirror.
For example, you may change it to clamav.yukiguni.net
To change the Virus Signature Server
-
Click on App Settings → Others → Updates → Virus Signature Server
-
Enter the server URL, for example, clamav.yukiguni.net, then click Apply.
-
Click Update Now.
-
When the update is completed, click the OK button to return back to the SecureAPlus Settings.
Proxy server
You can manually set your own proxy server and port number to retrieve your system proxy settings via your Internet Explorer browser which will be used by ClamAV to update your virus signature.
-
Enter your proxy server and port number.
-
Toggle Use System Proxy Settings to On.
-
Click on the Apply button to update the changes.
Support and feedback
Should you encounter any issues using SecureAPlus with any of the mentioned or missed requirements above, you can write to us a docs@secureage.com.
This page was last updated: November 07, 2024