Disable windows defender in Windows 10
There are 2 methods which you can choose to permanently disable Windows Defender in Windows 10
Method 1: Set “Turn off windows defender” settings to ‘enabled’ from local group policy
-
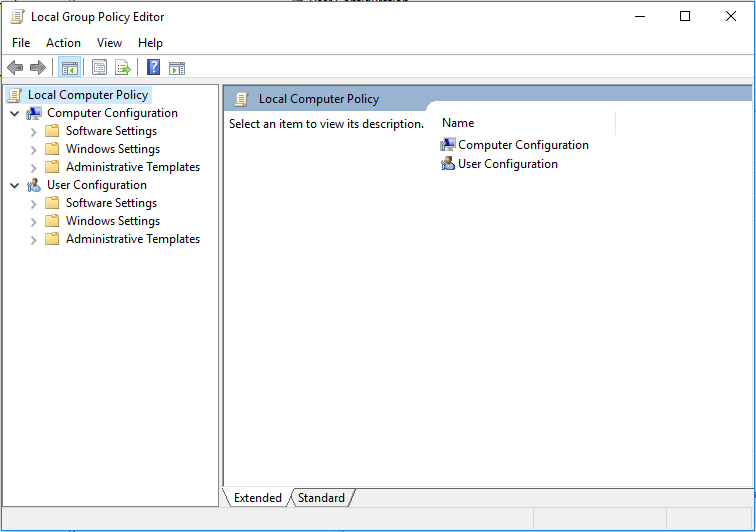
Launch the Local Group Policy Editor on Windows via:
Windows Key + R → type gpedit.msc and press OK, or

Go to C:\Windows\System32\gpedit.msc
-
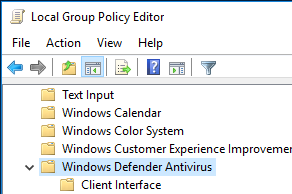
In the left pane of the Local Group Policy Editor window, navigate to the location below:
Computer Configuration/Administrative Templates/Windows Components/Windows Defender Antivirus
-
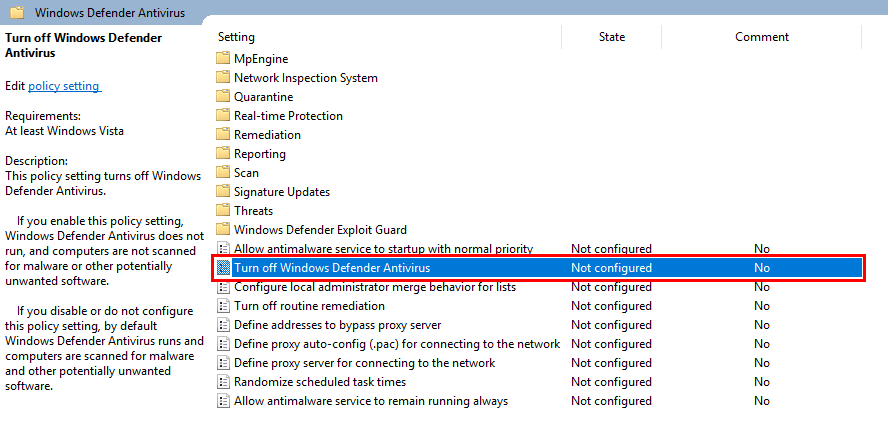
Find and click on Turn Off Windows Defender Antivirus on the right pane.
-
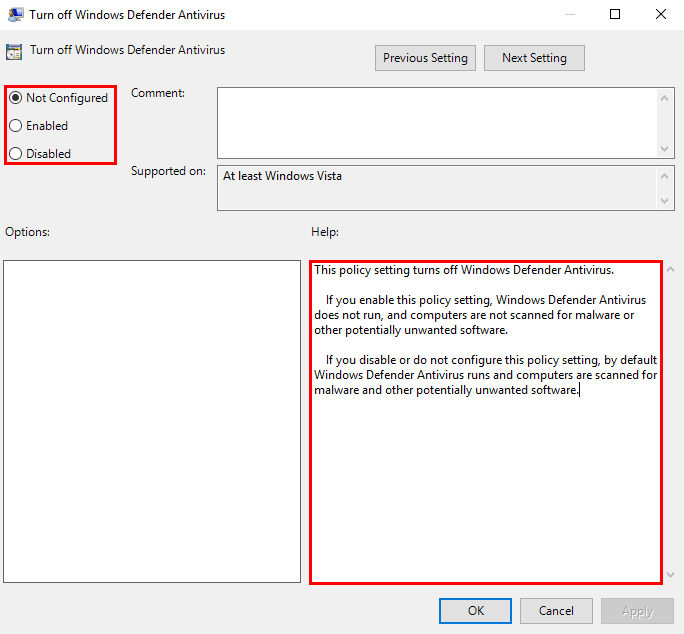
Switch the selection from “Not Configured” or “Disabled” to “Enabled“. Then click “OK” to apply the changes.
Method 2: Modify the registry to set windows defender to permanently disabled.
-
To do this, download the following file: turn_off_windows_defender.zip
-
Next, extract the file, and double click turn_off_windows_defender.reg
Reference: https://evotec.xyz/windows-10-how-to-permanently-disable-windows-defender/
Support and feedback
Should you encounter any issues using SecureAPlus with any of the mentioned or missed requirements above, you can write to us at docs@secureage.com.
This page was last updated: December 02, 2025