Collecting dump files for SecureAPlus support
Jump to:
To help diagnose issues pertaining to SecureAPlus on your computer, below are instructions on how to prepare the Dump Files for sending to the SecureAPlus Support Team.
For SecureAPlus application crash
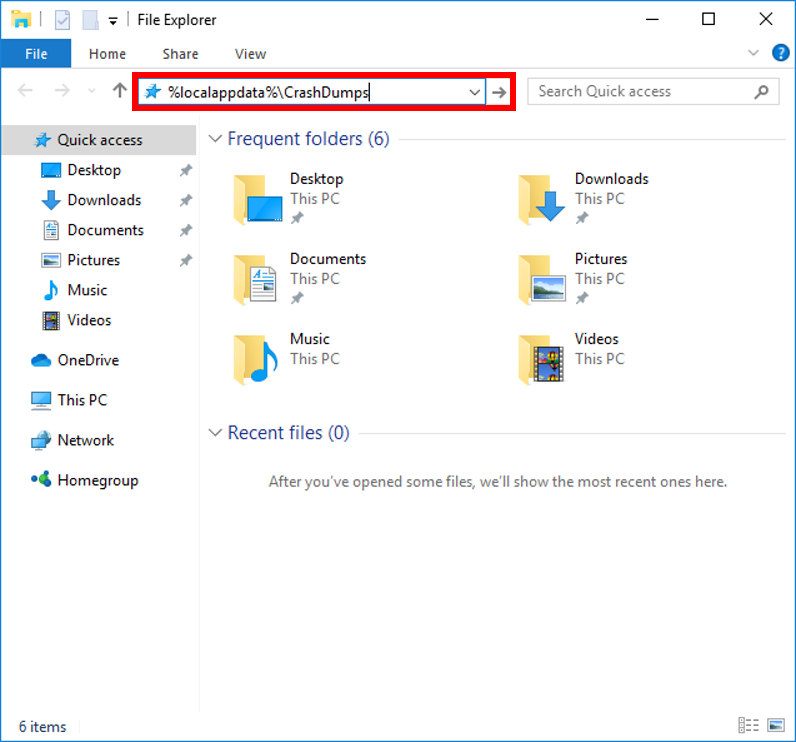
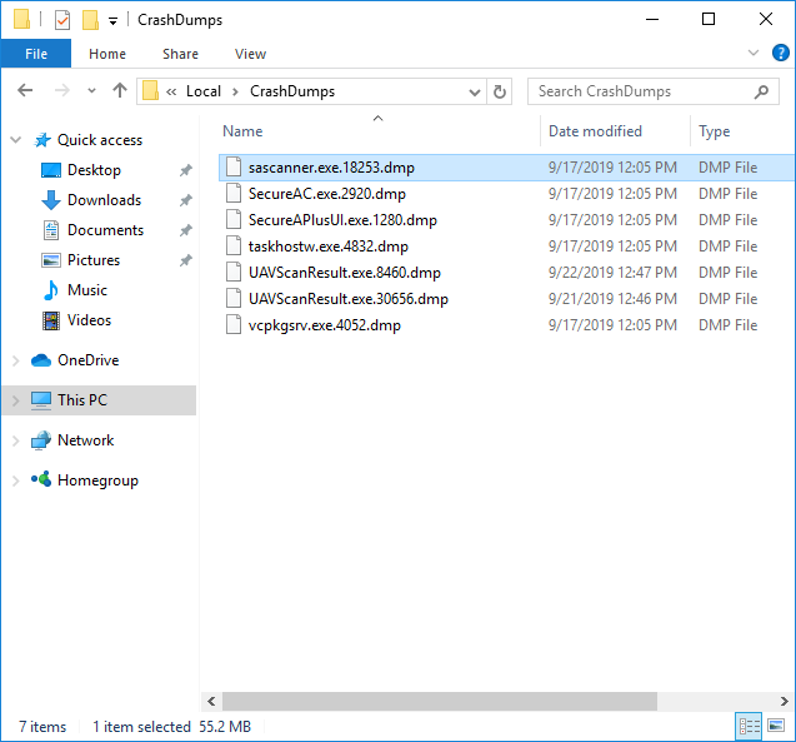
For application crash, type the following folder location on Windows Explorer and click Enter
%localappdata%\CrashDumps
Compress only the dump file(s) that matches the following name:
-
SecureAPlusUI.exe.xxxx.dmp
-
SecureAPlus.exe.xxxx.dmp
-
sanotifier.exe.xxxx.dmp
-
UAVScanResult.exe.xxxx.dmp
-
SAScanner.exe.xxxx.dmp
The file names above are only the example of some applications, our support personnel may ask for different file if it is necessary.
For SecureAPlus service crash
-
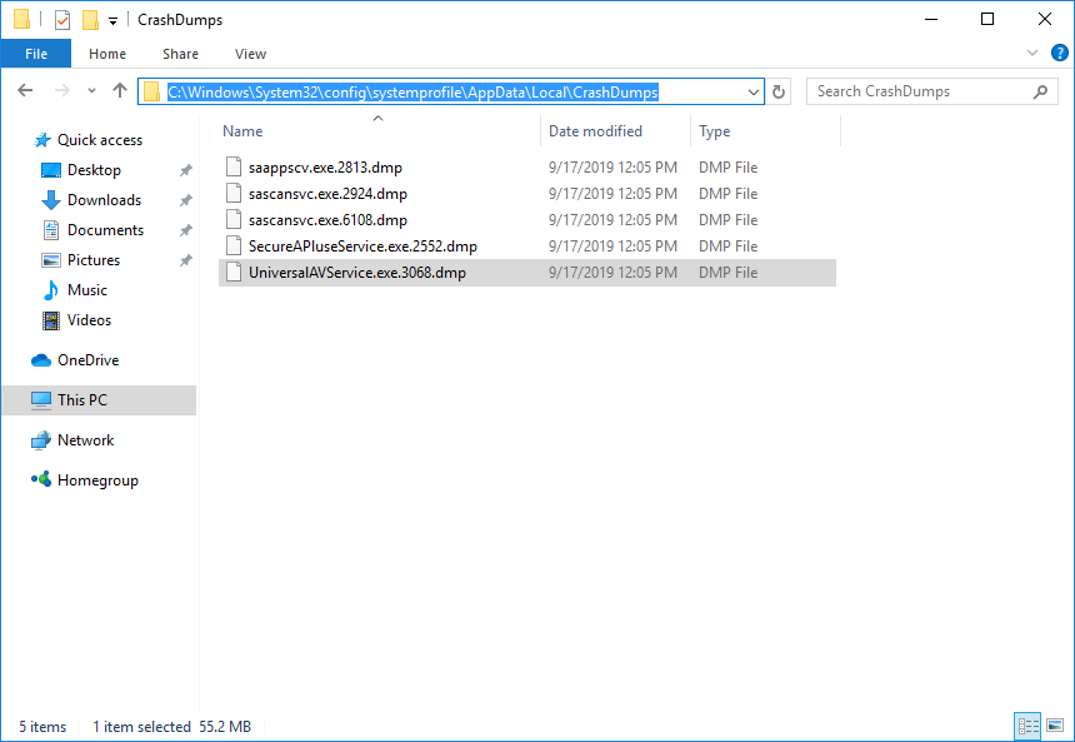
If any of the SecureAPlus services is not running, go to the following folder: C:\Windows\System32\config\systemprofile\AppData\Local\CrashDumps
-
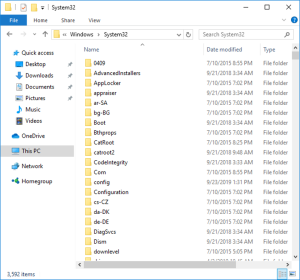
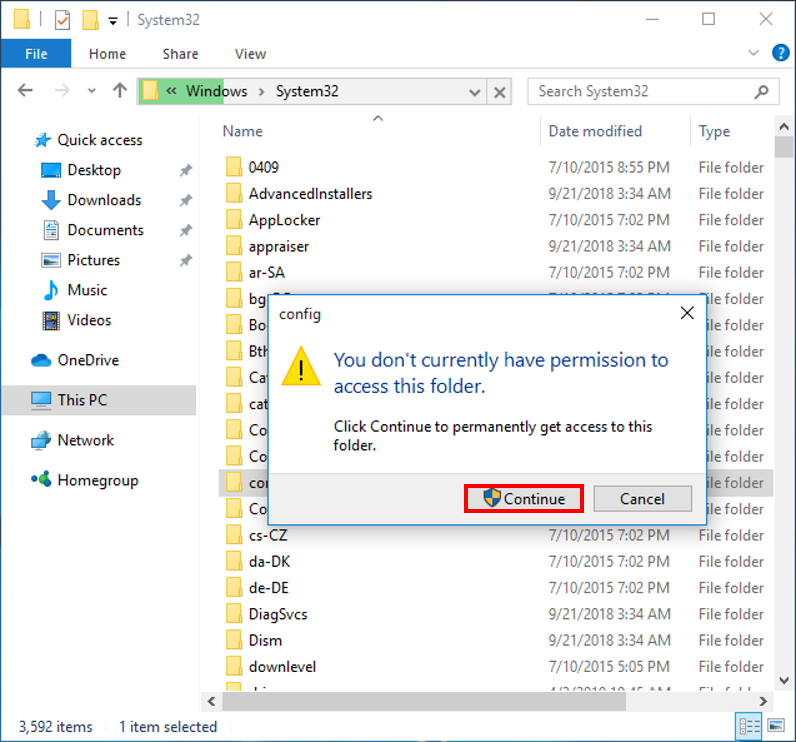
From Windows File Explorer, first go to C:\Windows\System32
-
In C:\Windows\System32, click on config folder.

-
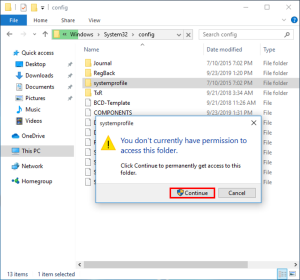
Windows will prompt you that You don’t currently have permission to access this folder. Click on Continue to grant yourself the access rights.

-
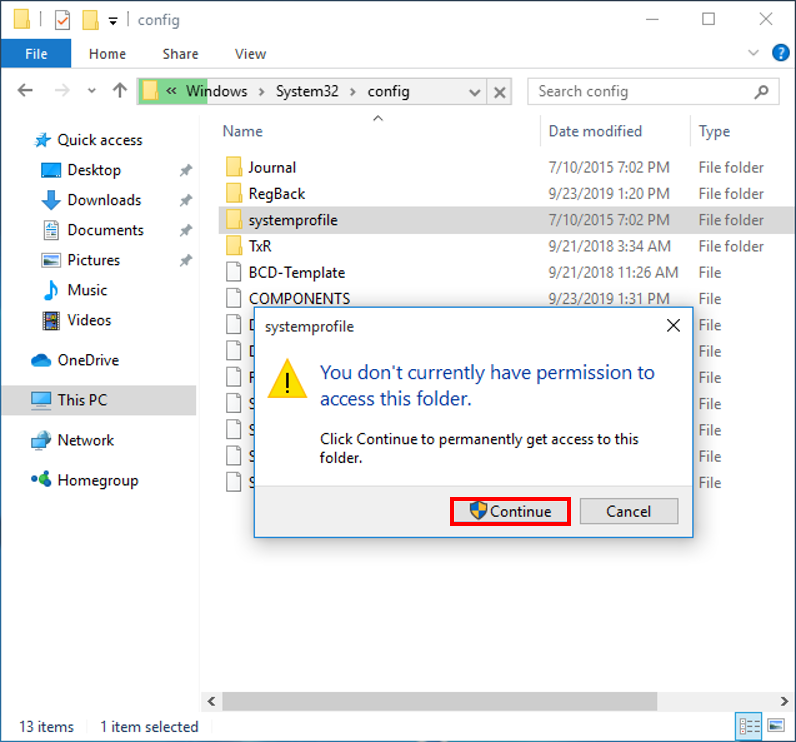
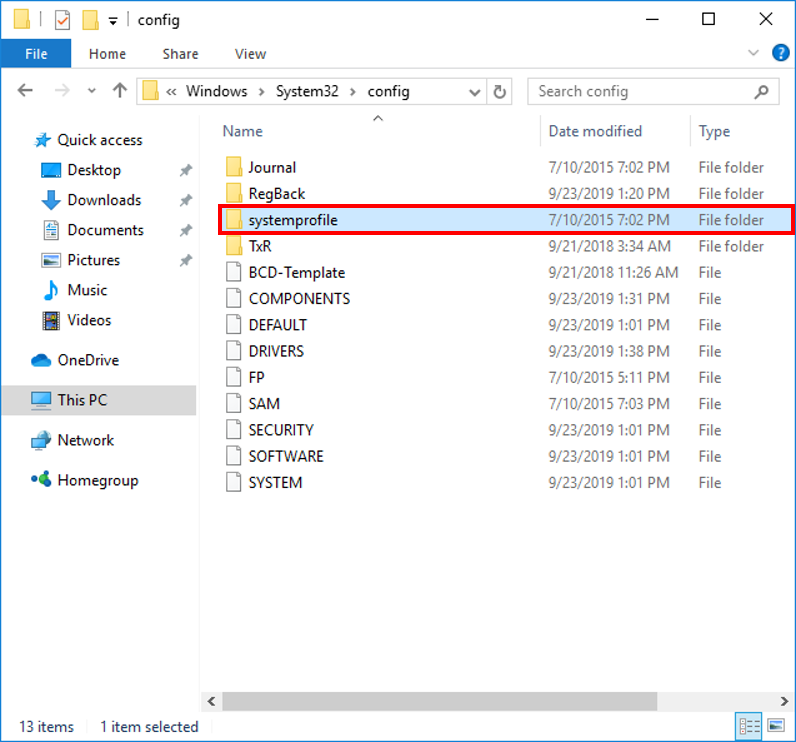
Click on systemprofile folder, similarly, click on Continue to grant yourself the access to this folder.

-
Click on AppData folder → Local folder → CrashDumps folder.


Compress only the dump file(s) that matches the following name:
-
saappsvc.exe.xxxx.dmp
-
sascansvc.exe.xxxx.dmp
-
SecureAPlusService.exe.xxxx.dmp
-
UniversalAVService.exe.xxxx.dmp
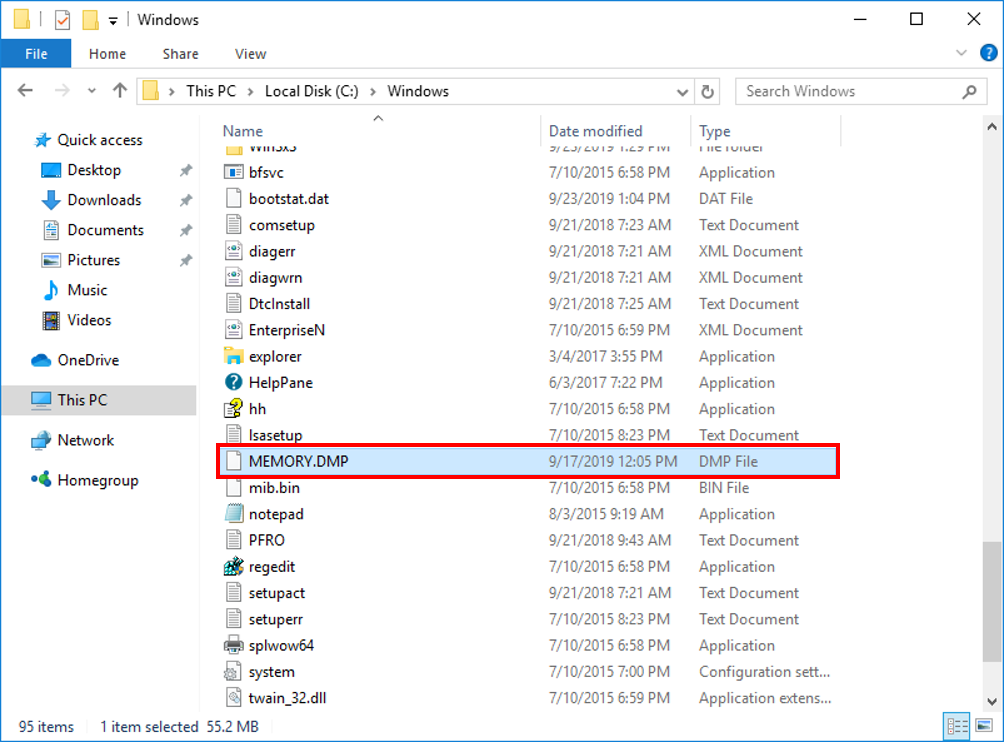
For Blue Screen
If you encounter a blue screen, go to the following folder and compress the dump file
C:\Windows\MEMORY.DMP
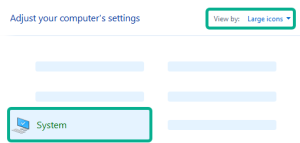
For Windows 10 onwards, follow the steps below to enable the memory dump
-
Go to Control Panel → View by: Large Icon → System.
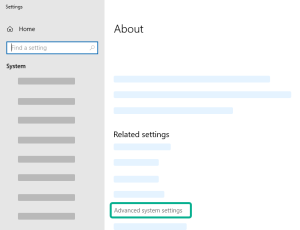
-
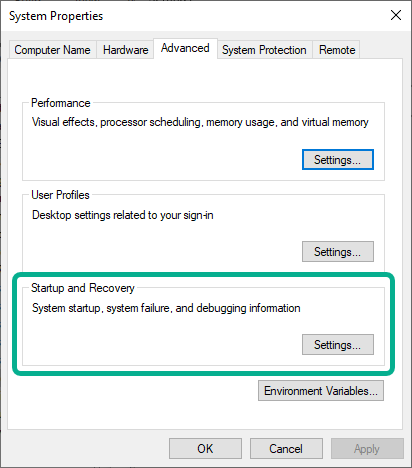
Advanced System Settings
-
Go to Advanced tab.
-
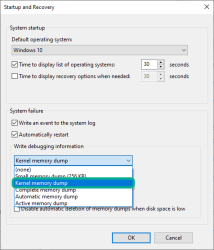
In the Startup and Recovery section, click Settings.
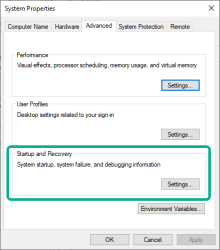
-
In the Write debugging information section, select Kernel memory dump on the first drop-down list, and click OK.
-
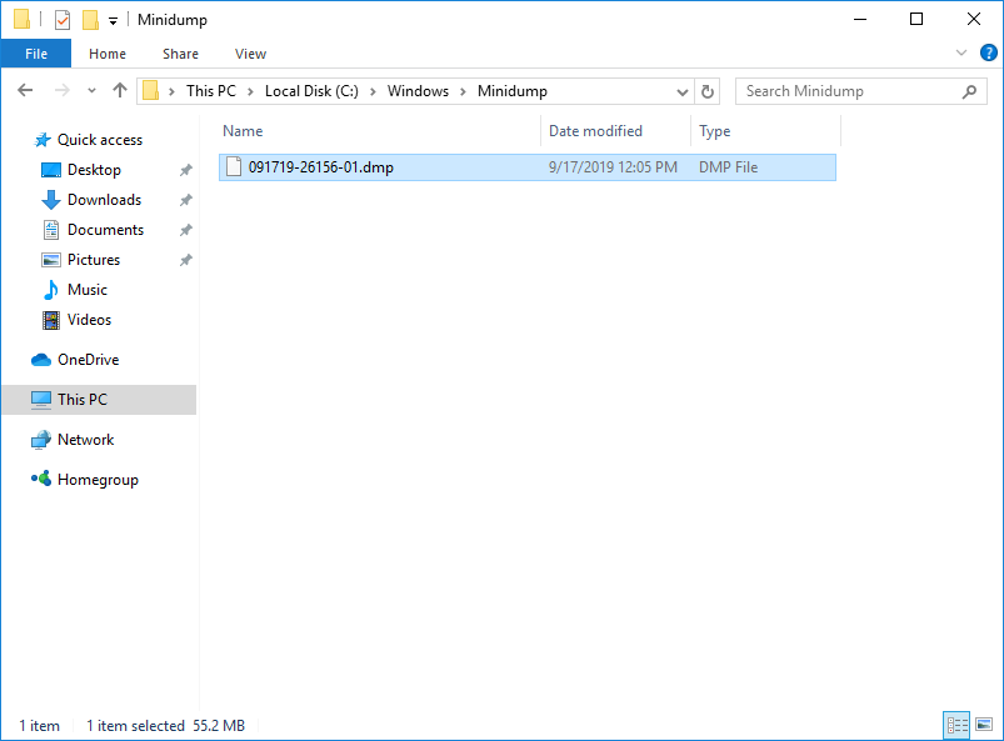
You may also check the following folder:
C:\WINDOWS\Minidump


Preparing the dump file
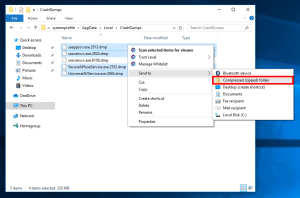
Follow the steps below to use Windows built-in Compressed (zipped) feature to compress files
-
Select and right-click the dump file(s), select Send to → Compressed (zipped) folder.

Alternatively, you can use.ZIP, RAR, or .7-Zip archive/container to compress the log folder.
Submit the dump files to the SecureAPlus support team
Attach the compressed file to an email and send it here!
Use Report SecureAPlus Issues as the email subject line and include as much of the following details as possible:
-
Windows Operating System Version
-
SecureAPlus Version
-
Name of Other Antivirus Software and the Version, if any
-
Description of Issues Encountered
Reporting of SecureAPlus Issues will take some time before results/ fixes may be implemented. It is advised to provide as much information as possible to help properly diagnose the issues.
If the compressed files exceed the email attachment file size limit, you may use the following service: pCloud Transfer.

Support and feedback
Should you encounter any issues using SecureAPlus with any of the mentioned or missed requirements above, you can write to us a docs@secureage.com.
This page was last updated: November 07, 2024