View and approve whitelist requests
One of the whitelist management features of SecureAPlus Pro is being able to remotely approve and deny requests by non-privileged users – by default, these are all non-admin users but can be configured to be any user type via the trusted users and trusted groups settings of SecureAPlus.
More on SecureAPlus Pro Remote Whitelist Management Features
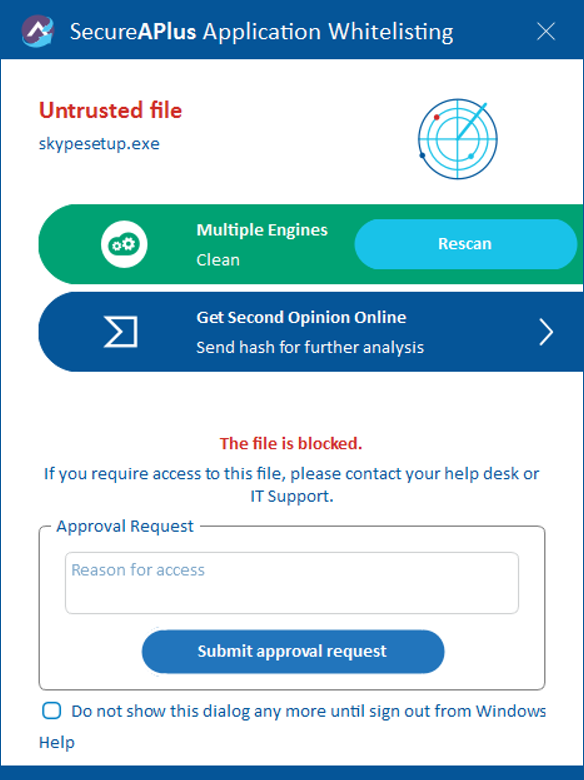
Non-privileged users are by default placed on Lockdown mode so any untrusted application will always be blocked. However, devices that have a valid SecureAPlus Pro license can request for approval to run or whitelist an application they are trying to launch via the notification whenever SecureAPlus blocks an untrusted application.
Viewing whitelist request
To view whitelist requests in your SecureAPlus portal
-
Log in to your SecureAPlus Portal.
-
On the SecureAPlus Account Portal Summary page, click on Request Whitelist Approval.
-
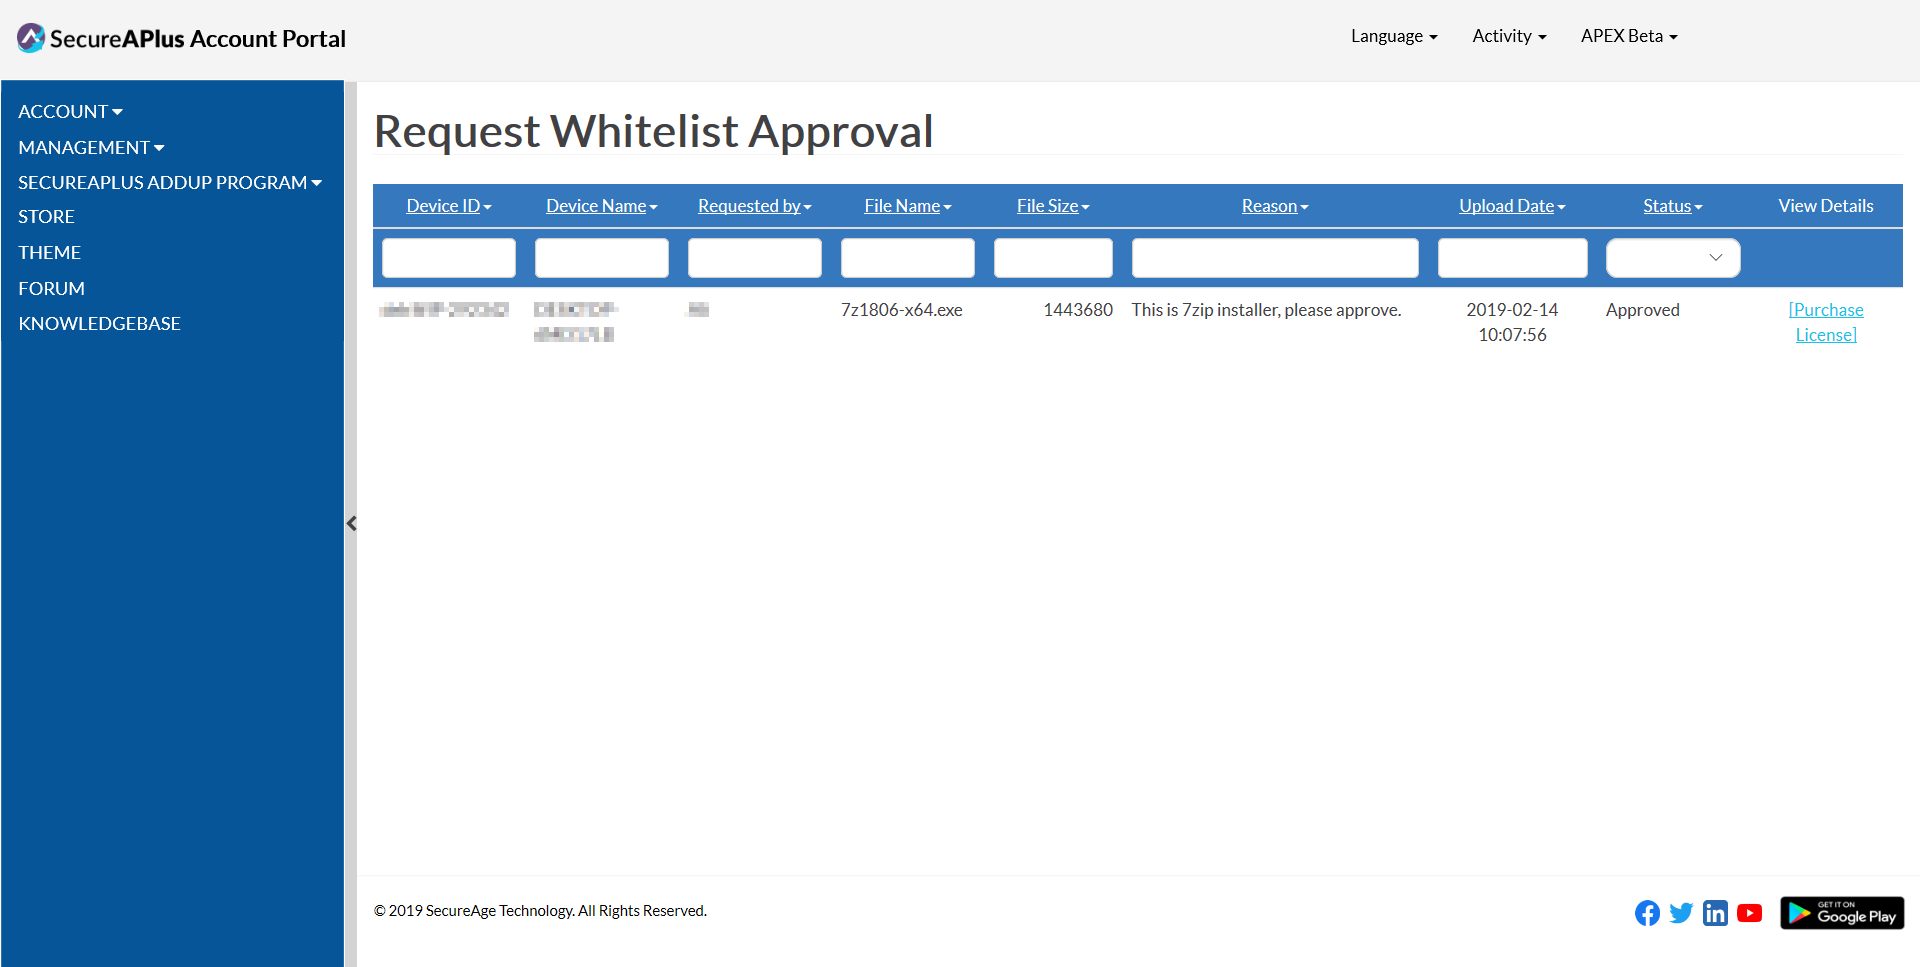
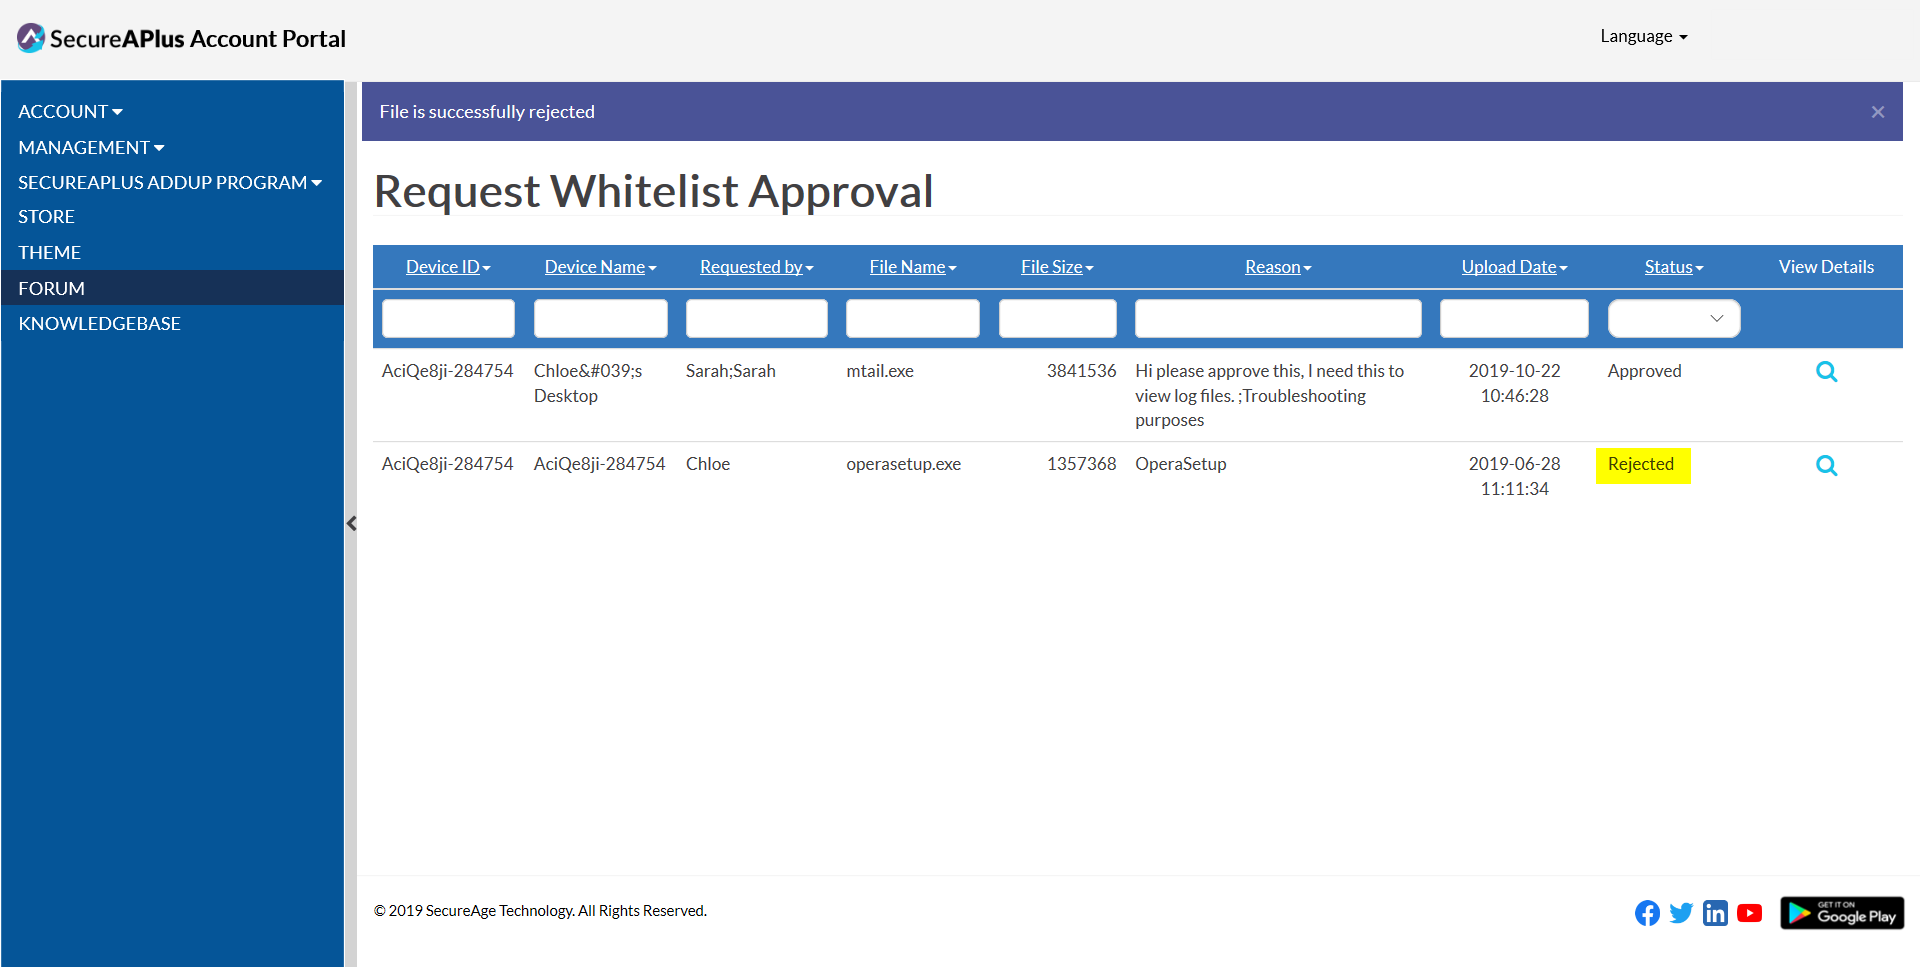
On the Request Whitelist Approval page, you will see the list of whitelist requests.
-
Click on the magnifying icon under View Details column to view more information on the whitelist request.

-
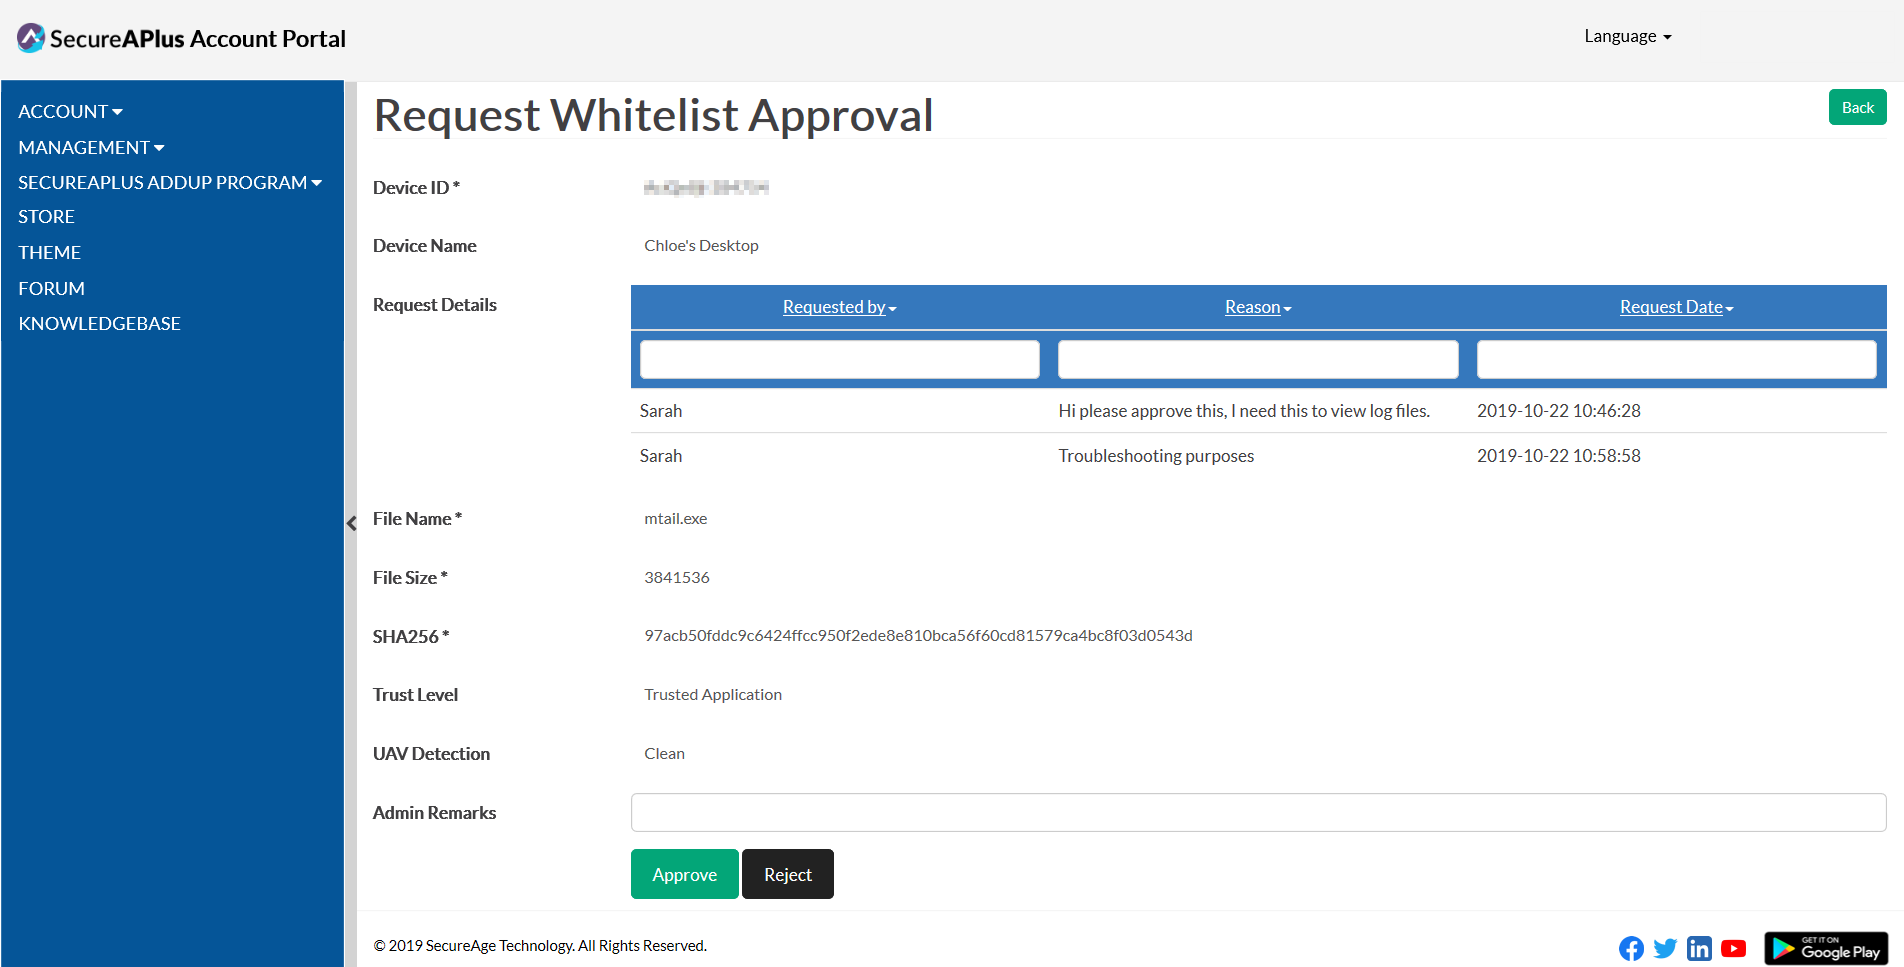
On the Request Whitelist Approval page, you will see the request details, the details of the file, and the UAV Detection information.
Approving whitelist request
To approve whitelist requests in your SecureAPlus portal
-
Log in to your SecureAPlus Portal.
-
On the SecureAPlus Account Portal Summary page, click on Request Whitelist Approval.
-
On the Request Whitelist Approval page, you will see the list of whitelist requests.
-
Click on the magnifying icon under View Details column to begin the process of approving the whitelist request.
-
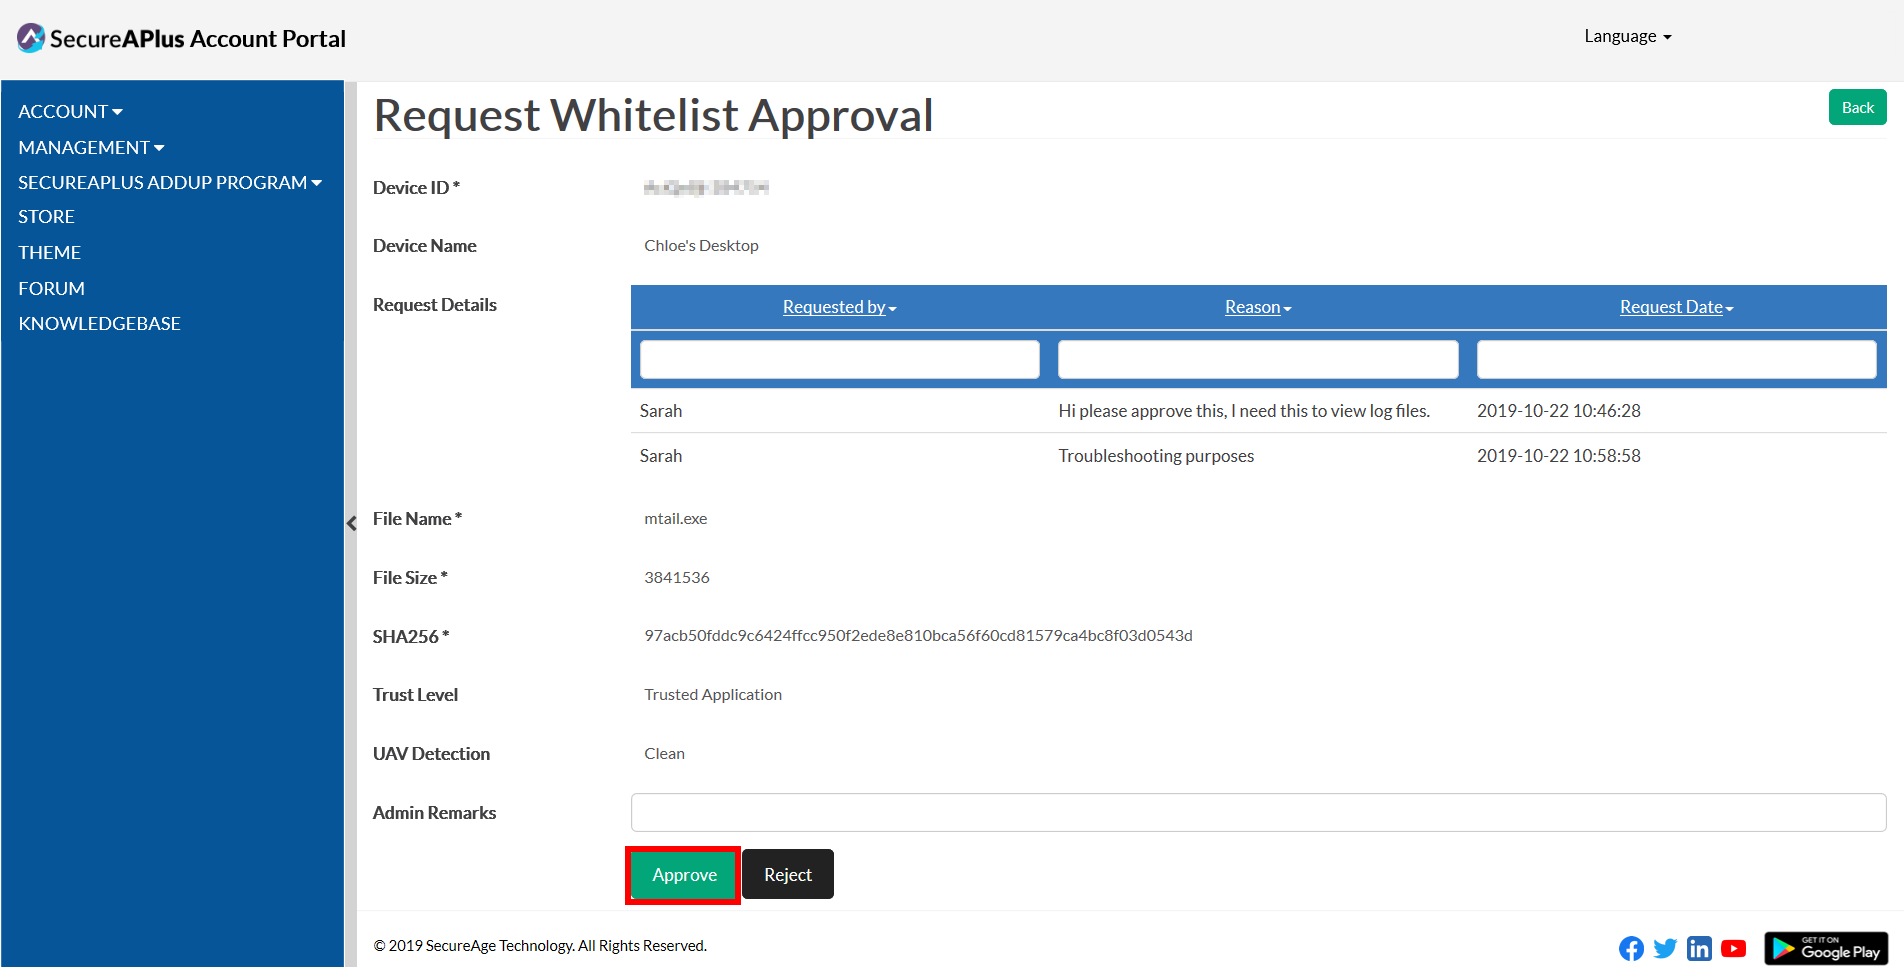
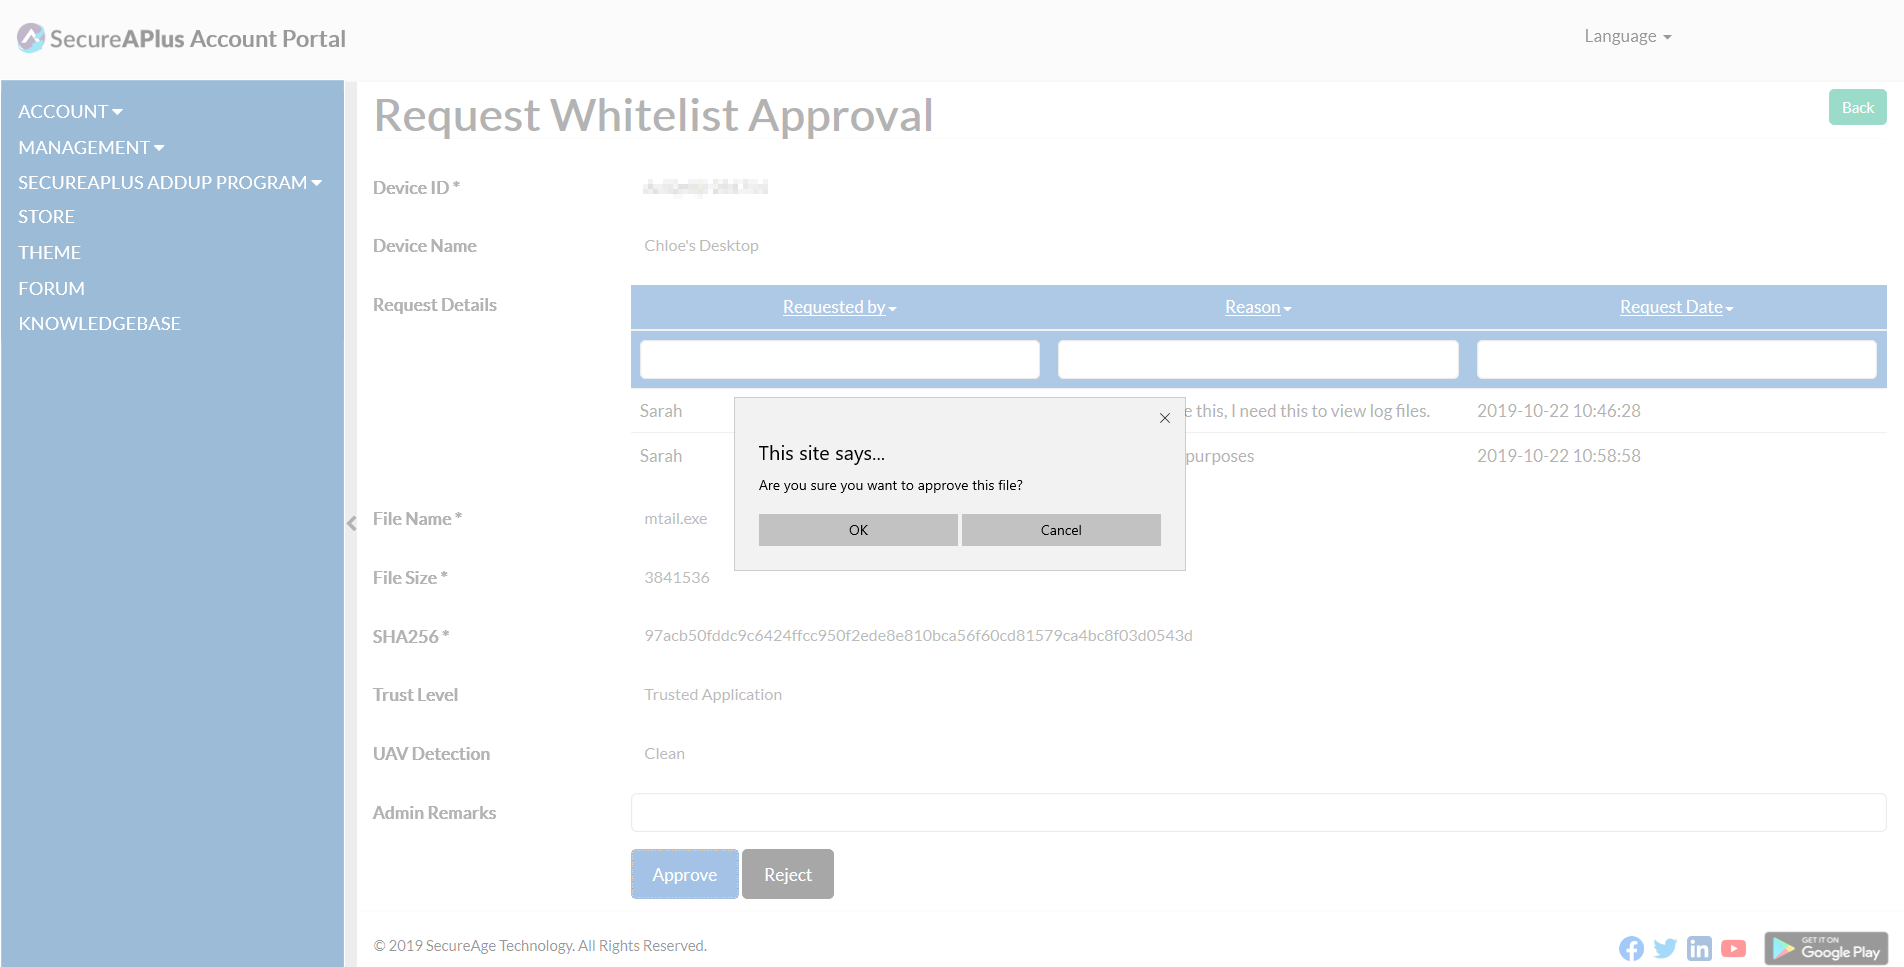
On the Request Whitelist Approval page, input any Admin Remarks (optional, for your own reference later) and click on the Approve button.
-
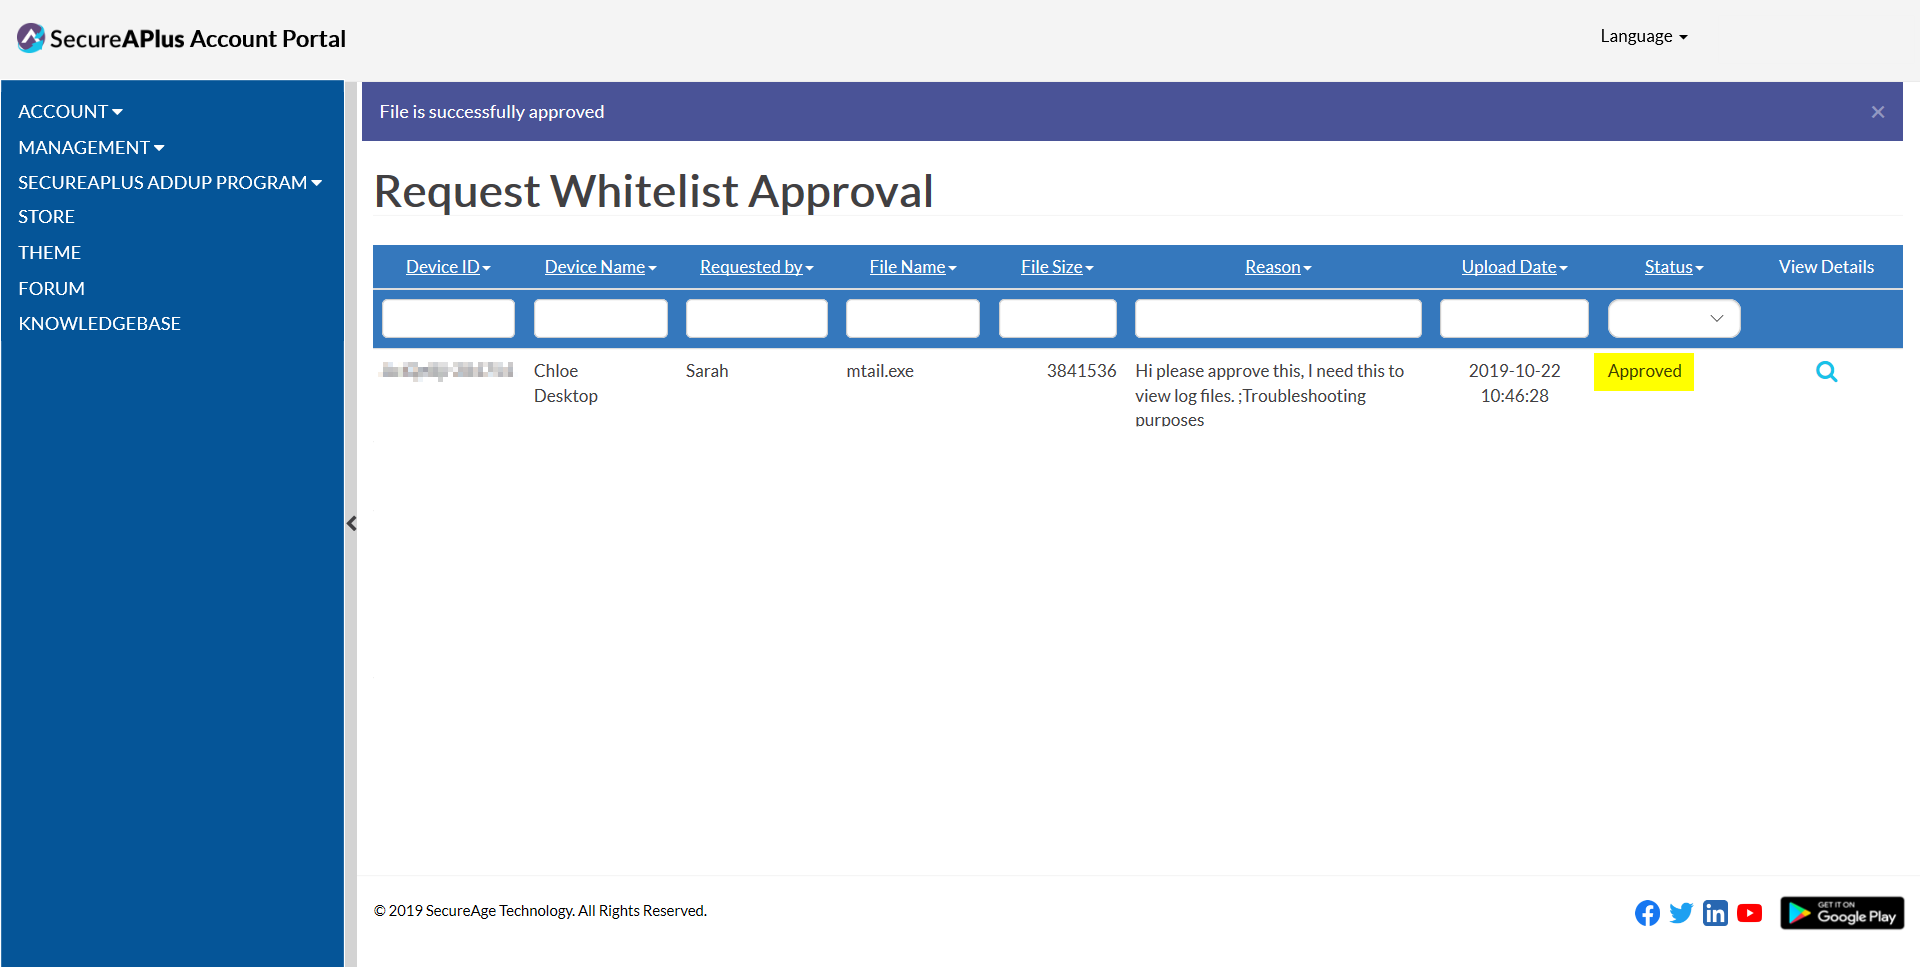
Click OK button to confirm the approval, the status will be changed to Approved on the list of whitelist request.
Rejecting whitelist request
-
Click on the magnifying icon under View Details column.

-
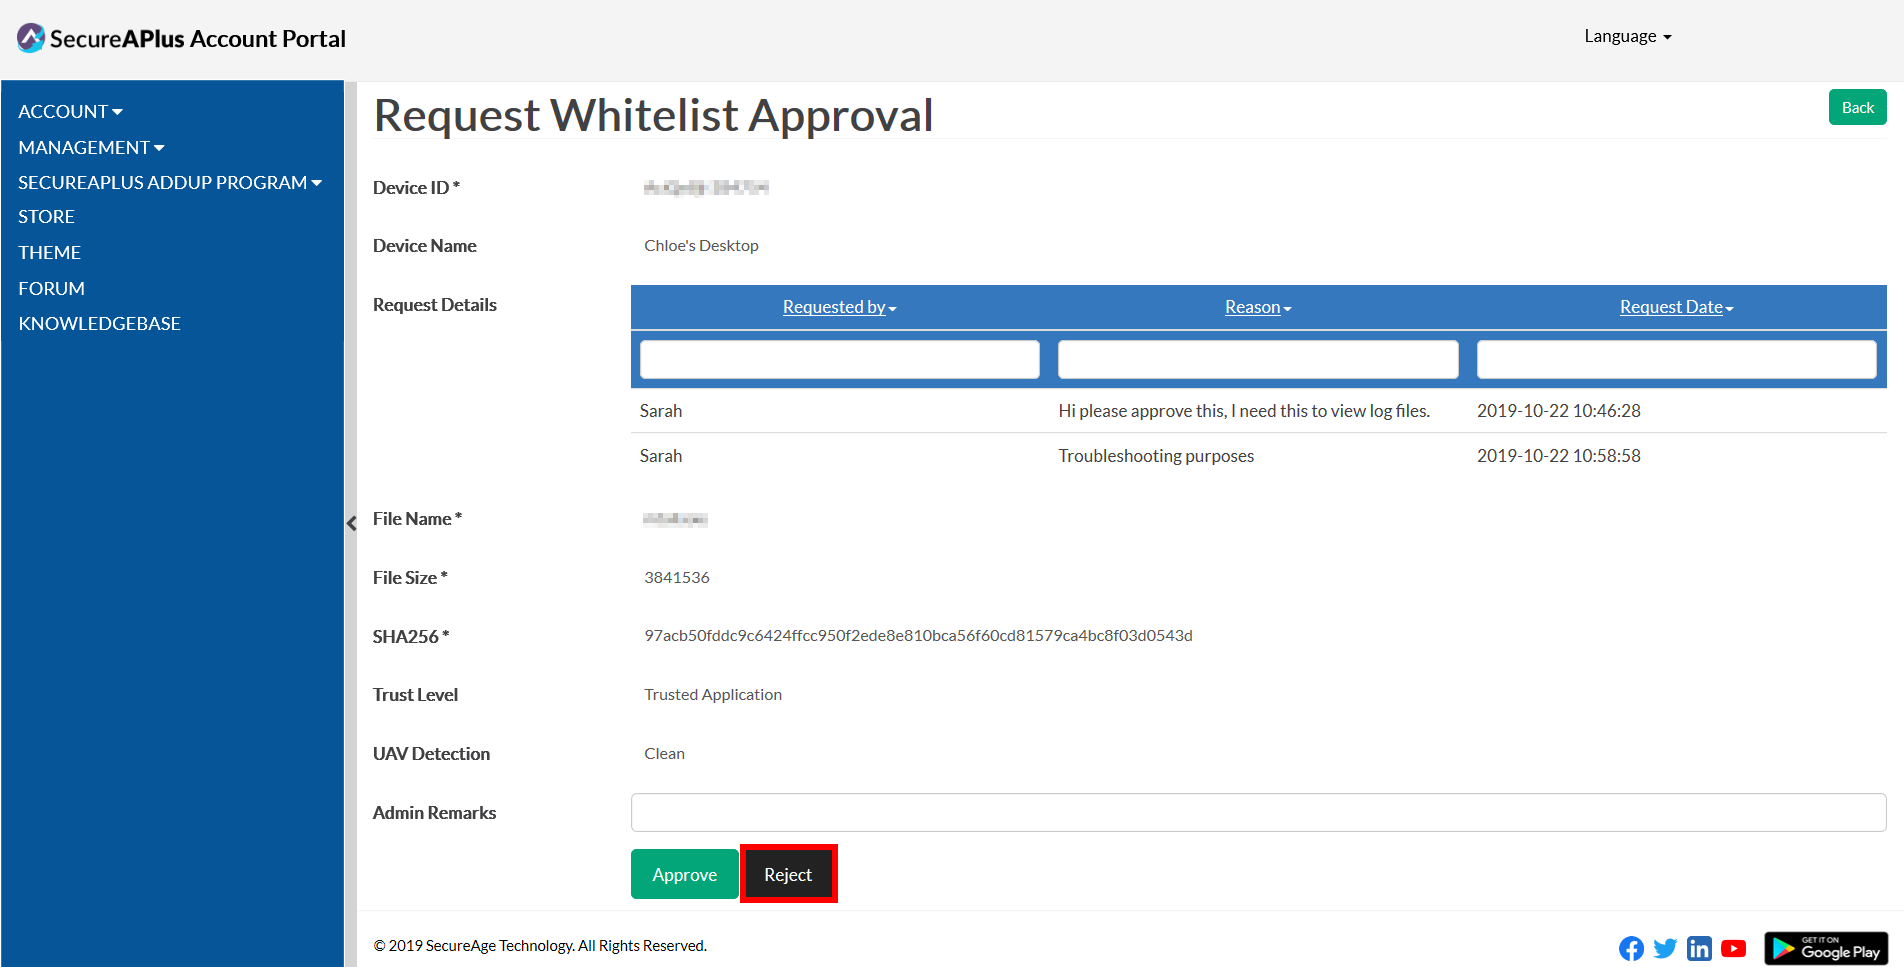
On the Request Whitelist Approval page, input any Admin Remarks (optional) and click on the Reject button.
-
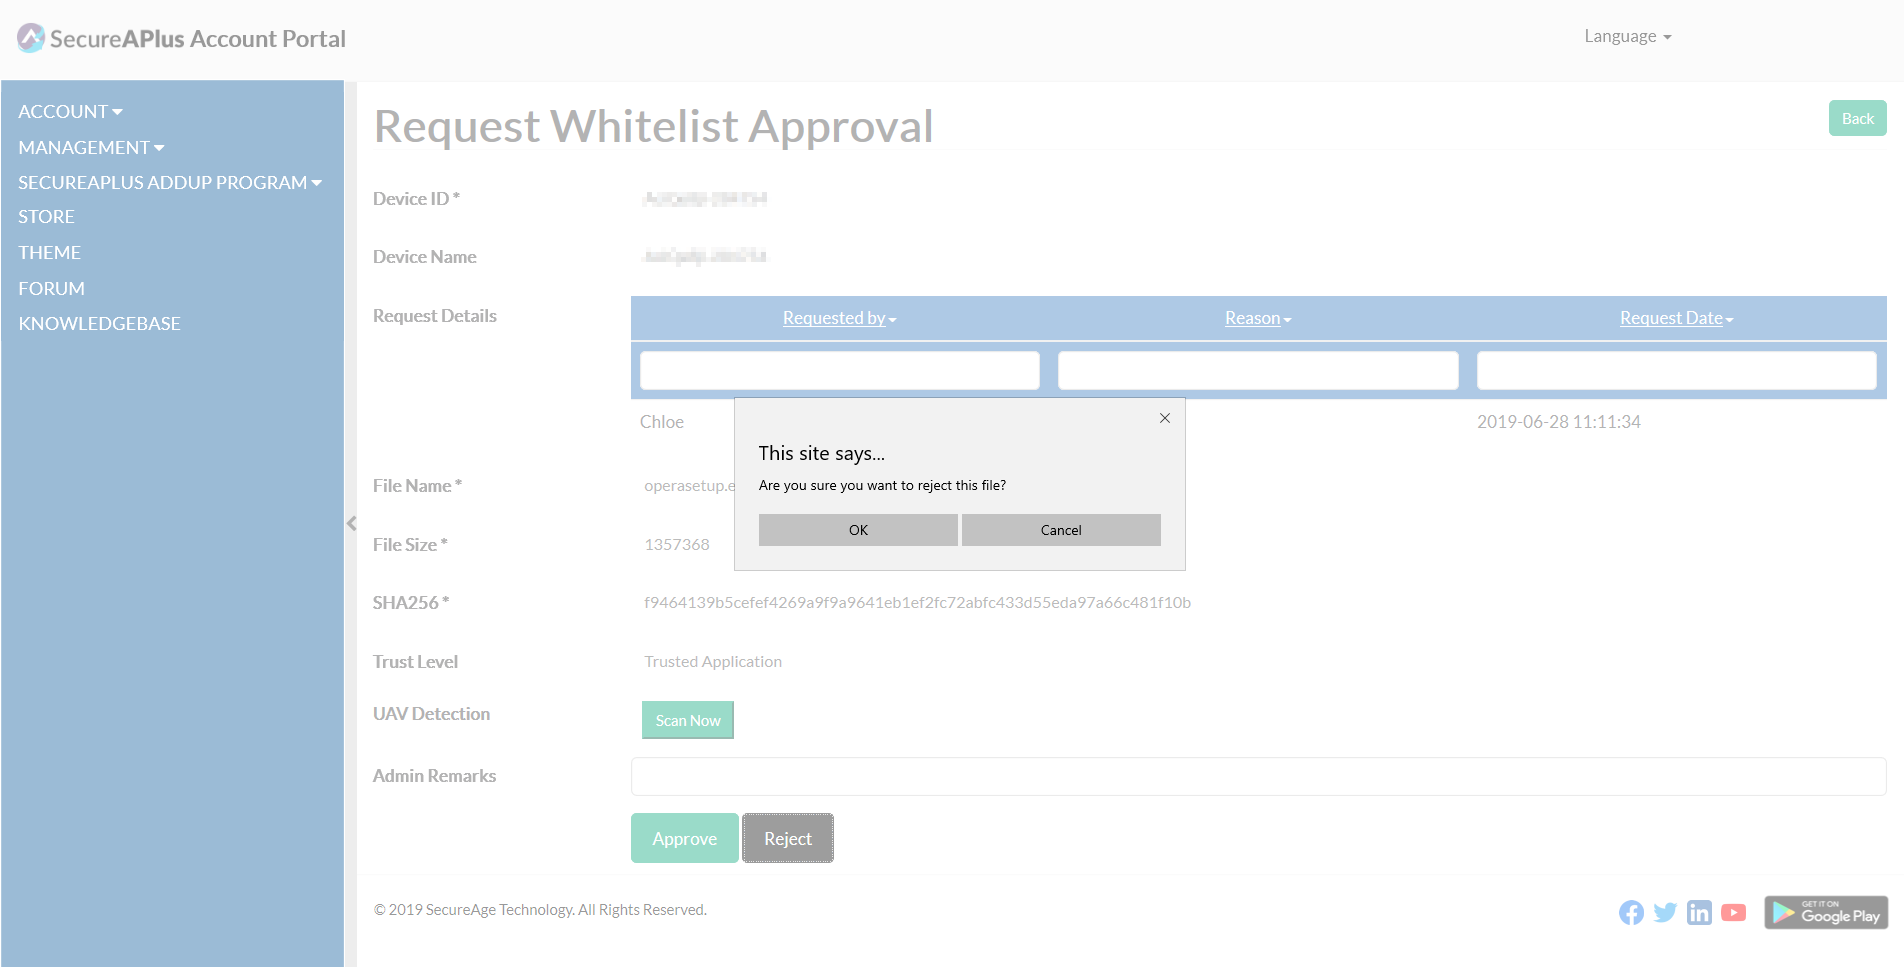
Click OK button to confirm the rejection, the status will be changed to Rejected on the list of whitelist request.
It is possible for SecureAPlus Lite non-privileged users to send an approval request if the device is linked to a SecureAPlus account. However, the actual approval/ rejection itself from the portal will require an upgrade to a SecureAPlus Pro license.
How Can I Try Out Remote Whitelist Management & Other SecureAPlus Pro Features for Free?
Support and feedback
Should you encounter any issues using SecureAPlus with any of the mentioned or missed requirements above, you can write to us at docs@secureage.com.
This page was last updated: December 02, 2025