Uninstalling SecureAPlus
It is best to uninstall SecureAPlus using its dedicated uninstaller.
To completely remove SecureAPlus from your PC
-
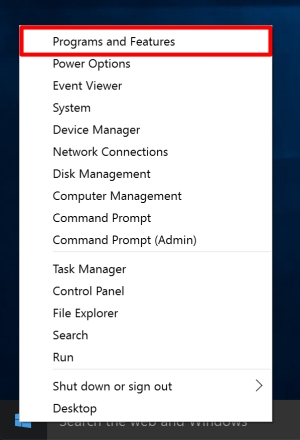
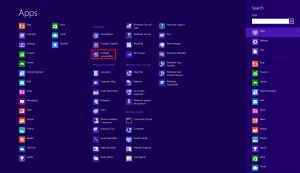
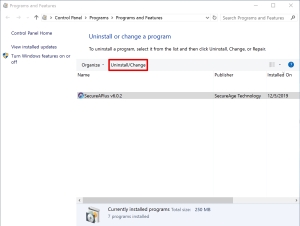
Find and Open the SecureAPlus Uninstaller
-
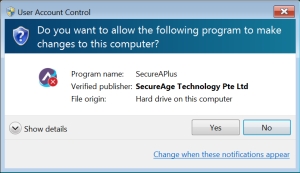
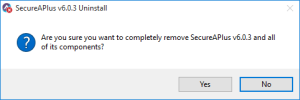
Follow the on-screen instructions to begin the process of uninstalling SecureAPlus from
your PC. -
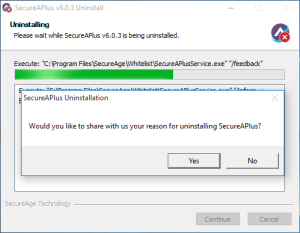
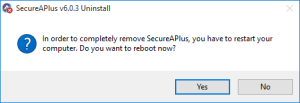
Take the [optional] uninstall survey and complete the process by restarting your computer.
A few features such as some of the anti-virus functionality will remain in memory until the next reboot. It is advisable to restart your computer to complete the uninstallation of all components of SecureAPlus.
-
SecureAPlus will be completely uninstalled from your system after the next reboot.
-
Deactivate your SecureAPlus Device if it is tied to your SecureAPlus Account.
While optional, this step is recommended if users intend to carry over a SecureAPlus Pro or Extended SecureAPlus Essentials License on a new machine.
Click here to Deactivate your SecureAPlus Device
If you have issues uninstalling SecureAPlus, uninstall SecureAPlus in Safe Mode
To go to Safe Mode
Windows 10: https://www.businessinsider.com/windows-10-safe-mode
Windows 7 and below:
1. Reboot the computer, and press F8 key while it is rebooting.
2. Use the arrow keys to select safe mode and press Enter to reboot Windows 7 in safe mode.
If these steps do not completely remove SecureAPlus, please do not hesitate to contact us.
Support and feedback
Should you encounter any issues using SecureAPlus with any of the mentioned or missed requirements above, you can write to us a docs@secureage.com.
This page was last updated: November 07, 2024

