Configuring Command Line Allowlist Settings in CatchPulse Policy
Command Line Allowlist enables Administrators to manage the execution of command line operations on their devices. It allows administrators to create a list of trusted commands authorized to run on the system. Once a command line is added to the allowlist, it is granted permission to run and will not be blocked or prevented from executing.
Command Line Allowlist is essential for maintaining system security, as it ensures that only trusted commands are allowed to run on a system. This reduces the risk of unauthorized or malicious activity, such as the installation of malware or the execution of malicious code.
By implementing the Command Line Allowlist, administrators can have confidence that their systems are protected against unwanted and potentially harmful activity.
Jump to:
Disabling Default Command Line Allowlist
Copying Default Line Allowlist to User-Defined Allowlist
Editing a Command Line Allowlist
Adding a Command Line Allowlist
Removing a Command Line Allowlist temporarily
Removing Command Line Allowlist permanently
Disabling Default Command Line Allowlist
If this setting is enabled, SecureAge Central will send the default allowlist to the end user. If the setting is disabled, SecureAge Central will not send the default allowlist.
To disable Default Command Line Allowlist
-
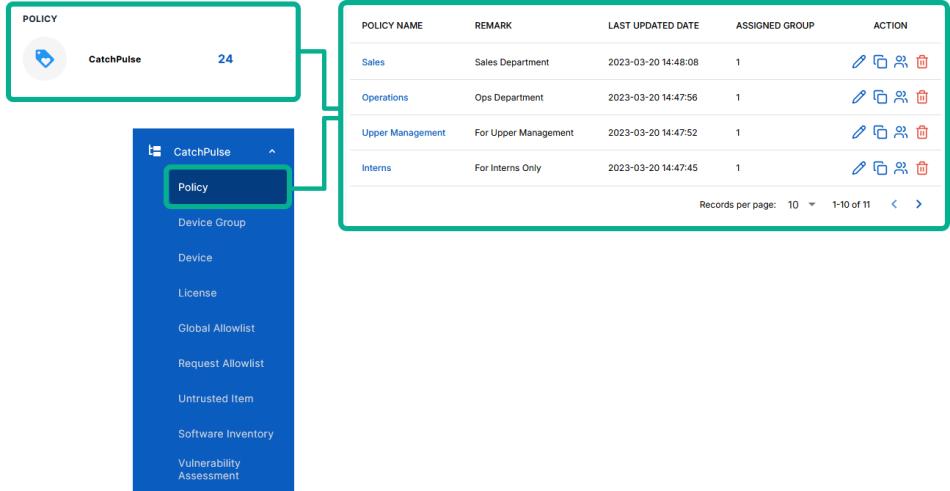
From the main navigation bar, go to CatchPulse → Policy.
-
Select a policy and click on the corresponding
 button.
 -
On the Policy page, under Manage → Command Line Allowlist.
-
Turn off the Use Default Command Line Allowlist switch.
Copying Default Line Allowlist to User-Defined Allowlist
To copy Default Line Allowlist to User-Defined Allowlist
-
From the main navigation bar, go to CatchPulse → Policy.
-
Select a policy and click on the corresponding
button. -
On the Policy page, under Manage → Command Line Allowlist.
-
Select a Command Line Allowlist and click on the corresponding
 button.
 -
On the Edit Command Line Allowlist display box, make the necessary changes to the Command Line Allowlist.
-
Click Update Policy.
The notification panel at the bottom of the page indicates the Command Line Allowlist was added.
Editing a Command Line Allowlist
To edit a Command Line Allowlist
-
From the main navigation bar, go to CatchPulse → Policy.
-
Select a policy and click on the corresponding
button. -
On the Policy page, under Manage → Command Line Allowlist.
-
Select either the Add to Command Line Allowlist or Remove From Command Line Allowlist tab.
-
Select a Command Line Allowlist and click on the corresponding
button. -
On the Edit Command Line Allowlist display box, make the necessary changes to the Command Line Allowlist.
-
Click Update Policy.
The notification panel at the bottom of the page indicates the Command Line Allowlist was saved.
Adding a Command Line Allowlist
Note: For a command line allowlist entry to be effective, a corresponding entry must exist in the Command Line Rules. To add a Command Line Rules, click here.
To add a Command Line Allowlist
-
From the main navigation bar, go to CatchPulse → Policy.
-
Do one of the following:
-
To create a new policy with a specified Command Line Allowlist, click on the Add Policy button located in the top right corner of the Policy page, or
-
To add a Command Line Allowlist to an existing policy, select a policy and click on the corresponding
button.
-
-
On the Policy page, under Manage → Command Line Allowlist.
-
Click Add New User-Defined from the top right corner of the Command Line Allowlist page.
-
On the Add Command Line Allowlist display box, create command-line allowlist that are not part of the default set provided by the system.
-
Action - Choose Add.
-
Case Sensitive - Choose Yes if the command is case-sensitive; otherwise, select No.
-
Command - Enter a command line rule that exists in the Command Line Allowlist page.
-
-
(Optional) Select Add another to continue adding a Command Line Allowlist.
-
Click Update Policy or Add Policy.
The notification panel at the bottom of the page indicates the Command Line Allowlist was added.
Removing a Command Line Allowlist temporarily
Note: This method does not delete the Command Line Allowlist itself. Instead, it temporarily places the Command Line Allowlist in the Remove from Command Line Allowlist tab. To remove a Command Line Allowlist, click here.
To remove Command Line Allowlist from the Add from Command Line Allowlist tab
-
From the main navigation bar, go to CatchPulse → Policy.
-
Select a policy and click on the corresponding
button. -
On the Policy page, under Manage → Command Line Allowlist.
-
Click Add New User-Defined from the top right corner of the Command Line Allowlist page.
-
On the Add Command Line Allowlist display box, create command-line allowlist that are not part of the default set provided by the system.
-
Action - Choose Remove.
-
Case Sensitive - Choose Yes if the command is case-sensitive; otherwise, select No.
-
Command - Enter a command line rule that exists in the Command Line Allowlist page.
-
-
Select Remove to remove a Command Line Allowlist.
The notification panel at the bottom of the page indicates the Command Line Allowlist was deleted.
-
To prevent the command line from running, add a matching rule in the Command Line Rules.
Removing Command Line Allowlist permanently
To remove a Command Line Allowlist permanently
-
From the main navigation bar, go to CatchPulse → Policy.
-
Select a policy and click on the corresponding
button. -
On the Policy page, under Manage → Command Line Allowlist.
-
Select either the Add to Command Line Allowlist or Remove From Command Line Allowlist tab.
-
Select a Command Line Allowlist and click on the corresponding
 button.
 -
When prompted to remove the selected Command Line Allowlist, select Delete.
The notification panel at the bottom of the page indicates the Command Line Allowlist was deleted.
More information
Support and feedback
Should you encounter any issues using the SecureAge Central with any of the mentioned or missed requirements above, you can always write to us a docs@secureage.com.
This page was last updated: May 07, 2026