Configuring Removable Device Settings in CatchPulse Policy
The Removable Device element of CatchPulse policy feature gives administrators the tools to manage the risk of using USB and other removable storage devices. By enabling device access control, your organization can prevent unauthorized data access and exfiltration, mitigating common security concerns.
This feature ensures that only authorized data transfers occur and can be an integral part of a comprehensive security strategy, especially in environments where sensitive data is handled regularly. It allows for enforcing strict data control policies essential for compliance with various regulatory standards.
Jump to:
Deleting Authorized USB Device
Configuring USB Scan Settings
To configure USB Scan Settings
-
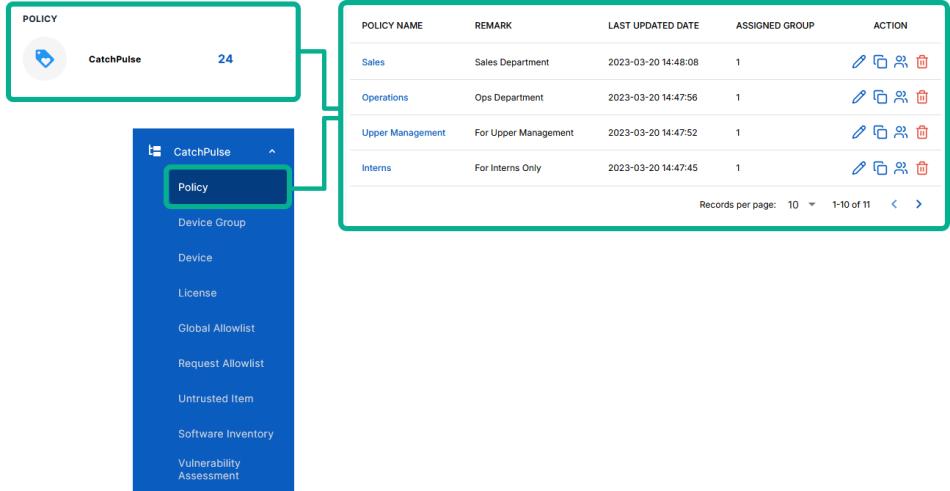
From the main navigation bar, go to CatchPulse → Policy.
-
Do one of the following:
-
To create a new policy and configure USB scan settings, click on the Add Policy button located at the top right corner of the Policy page, or
-
To disable a configure USB scan settings to an existing policy, select a policy and click on the corresponding
 button.
-
-
On the Policy page, under Manage → Removable Device.
-
Under the USB Settings tab, adjust the USB Scan Settings.
-
Use the drop-down menu to choose what the CatchPulse client should do when a USB drive is inserted into the device.
Options include: not scanning, automatically scanning, or prompting the user to decide what to do with the inserted thumb drive.
-
Read From USB Device - Toggle this switch to allow users to read data to USB devices.
This option lets you access data stored on a USB device. When this toggle is switched off, the users cannot access data from USB devices.
-
Write From USB devices - Toggle this switch to allow users to Write From USB devices.
This option lets you save data to the USB devices. When this toggle is switched off, the users cannot save data to USB devices.
-
-
(Optional) Select Add another to continue adding more USB Devices.
-
Click Add to add USB Device.
-
The notification panel at the bottom of the page indicates the USB Device was added successfully.
Adding Authorized USB Device
To add Authorized USB Device
-
From the main navigation bar, go to CatchPulse → Policy.
-
Do one of the following:
-
To create a new policy and configure USB scan settings, click on the Add Policy button located at the top right corner of the Policy page, or
-
To disable a configure USB scan settings to an existing policy, select a policy and click on the corresponding
button.
-
-
On the Policy page, under Manage → Removable Device.
-
Click Add from the top right corner of the Removable Device page.
-
On the Add USB Device display box, register a new USB device. Key in the following:
-
Vendor - Enter the manufacturer's USB device name.
-
Product ID - Enter the unique product identification number of the USB device.
-
Serial Number - Enter the unique serial number of the USB device
-
-
(Optional) Select Add another to continue adding more USB Devices.
-
Click Add to add USB Device.
The notification panel at the bottom of the page indicates the USB Devices was added successfully.
Deleting Authorized USB Device
To delete Authorized USB Device
-
From the main navigation bar, go to CatchPulse → Policy.
-
Do one of the following:
-
To create a new policy and configure USB scan settings, click on the Add Policy button located at the top right corner of the Policy page, or
-
To disable a configure USB scan settings to an existing policy, select a policy and click on the corresponding
button.
-
-
On the Policy page, under Manage → Removable Device.
-
Select an Authorized USB Device and click on the corresponding
 button.
 -
When prompted to remove an Authorized USB Device, select Delete.
The notification panel at the bottom of the page indicates the USB Device was deleted.
More information
Support and feedback
Should you encounter any issues using the SecureAge Central with any of the mentioned or missed requirements above, you can always write to us a docs@secureage.com.
This page was last updated: May 07, 2026