Configuring Trusted Group Settings in CatchPulse Policy
Trusted Groups are responsible for defining Windows groups authorised to modify allowlists and settings. This feature authorises designated personnel to add new allowlists, adjust program file trust levels, execute trusted installation software, and modify CatchPulse settings.
You can manage Trusted Groups to fine-tune access control within enterprise environments, ensuring that only specified administrators possess rights, rather than granting unrestricted access to all.
Moreover, it is important to include essential system accounts like System, Local Service, and Network Service in Trusted Users to ensure smooth operation of Windows processes without restriction from Application Allowlisting.
In cases where non-trusted users attempt to run Trusted Installer applications, the trust level is temporarily reduced to Trusted Application during runtime. Meanwhile, CatchPulse remains in Lockdown mode for non-trusted users, preventing changes to application allowlisting modes.
Define which groups within a Windows operating system are granted the rights to modify the allowlists and other CatchPulse features.
Jump to:
Disabling Default Trusted Group
Adding a New User-Defined Trusted Group
Disabling Default Trusted Group
To disable using Default Trusted Group
-
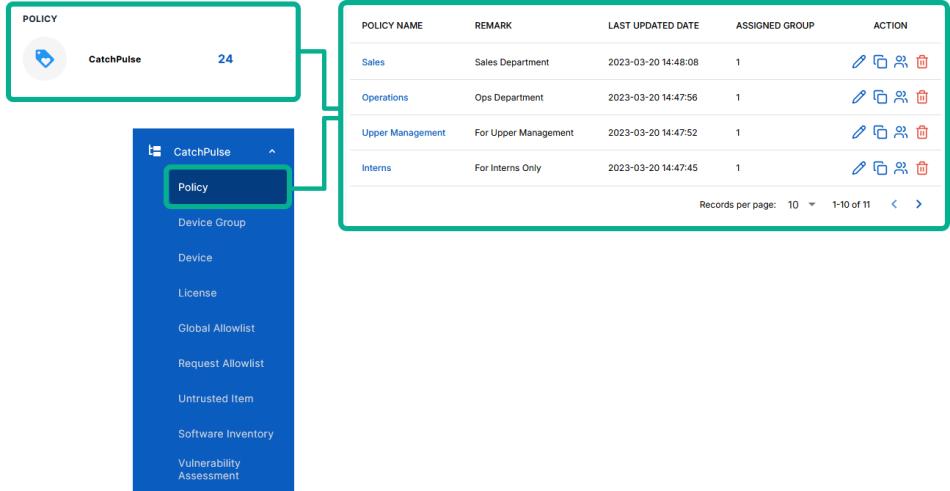
From the main navigation bar, go to CatchPulse → Policy.
-
Do one of the following:
-
To disable using Default Trusted Group in a new policy, click on the Add Policy button located at the top right corner of the Policy page, or
-
To disable using Default Trusted Group from an existing policy, select a policy and click on the corresponding
 button.
-
-
On the Policy page, under Manage → Trusted Group.
-
Turn off Use Default Trusted Group switch.
Adding a New User-Defined Trusted Group
To add a New User-Defined Trusted Group
-
From the main navigation bar, go to CatchPulse → Policy.
-
Do one of the following:
-
To add a new user-defined trusted group to a new policy, click on the Add Policy button located at the top right corner of the Policy page, or
-
To add a new user-defined trusted group to an existing policy, select a policy and click on the corresponding
button.
-
-
On the Policy page, under Manage → Trusted Group.
-
Click Add New User-Defined from the top right corner of the Trusted Group page.
-
On the Add display box, enter the Trusted Group name.
-
(Optional) Select Add another to continue adding more Trusted Group.
-
Click Update Policy or Add Policy.
The notification panel at the bottom of the page indicates the Trusted Group was added successfully.
Deleting a Trusted Group
To delete a Trusted Group
-
From the main navigation bar, go to CatchPulse → Policy.
-
Select a policy and click on the corresponding
button. -
On the Policy page, under Manage → Trusted Group.
-
Select a Trusted Group and click on the corresponding
 button.
 -
When prompted to remove a Trusted Group, select Delete.
The notification panel at the bottom of the page indicates the Trusted Group was deleted.
More information
Support and feedback
Should you encounter any issues using the SecureAge Central with any of the mentioned or missed requirements above, you can always write to us a docs@secureage.com.
This page was last updated: May 07, 2026