Create a CatchPulse policy
Only users with Pro licenses will be able to create a CatchPulse Policy.
A CatchPulse Policy is a collection of pre-defined CatchPulse settings that can be easily deployed and imposed to attached CatchPulse Pro devices with the Policy Add-on feature.
To create a CatchPulse Policy in your CatchPulse Account Portal.
-
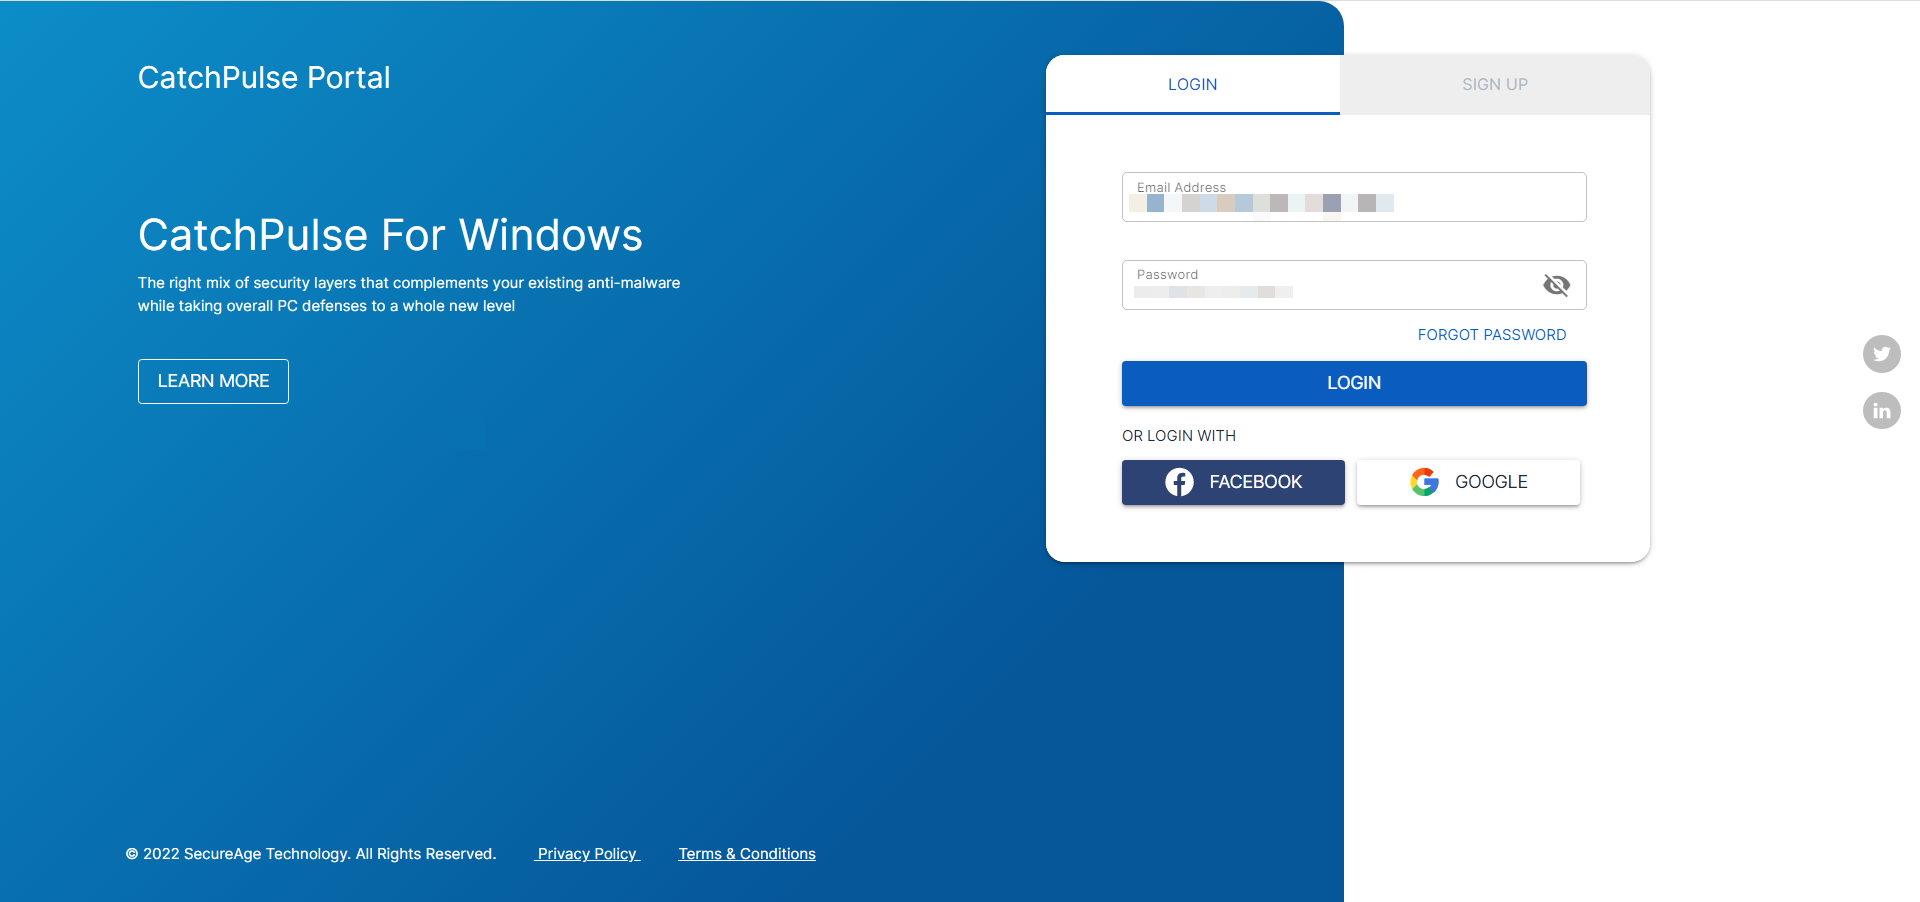
Log in to your CatchPulse Portal.
-
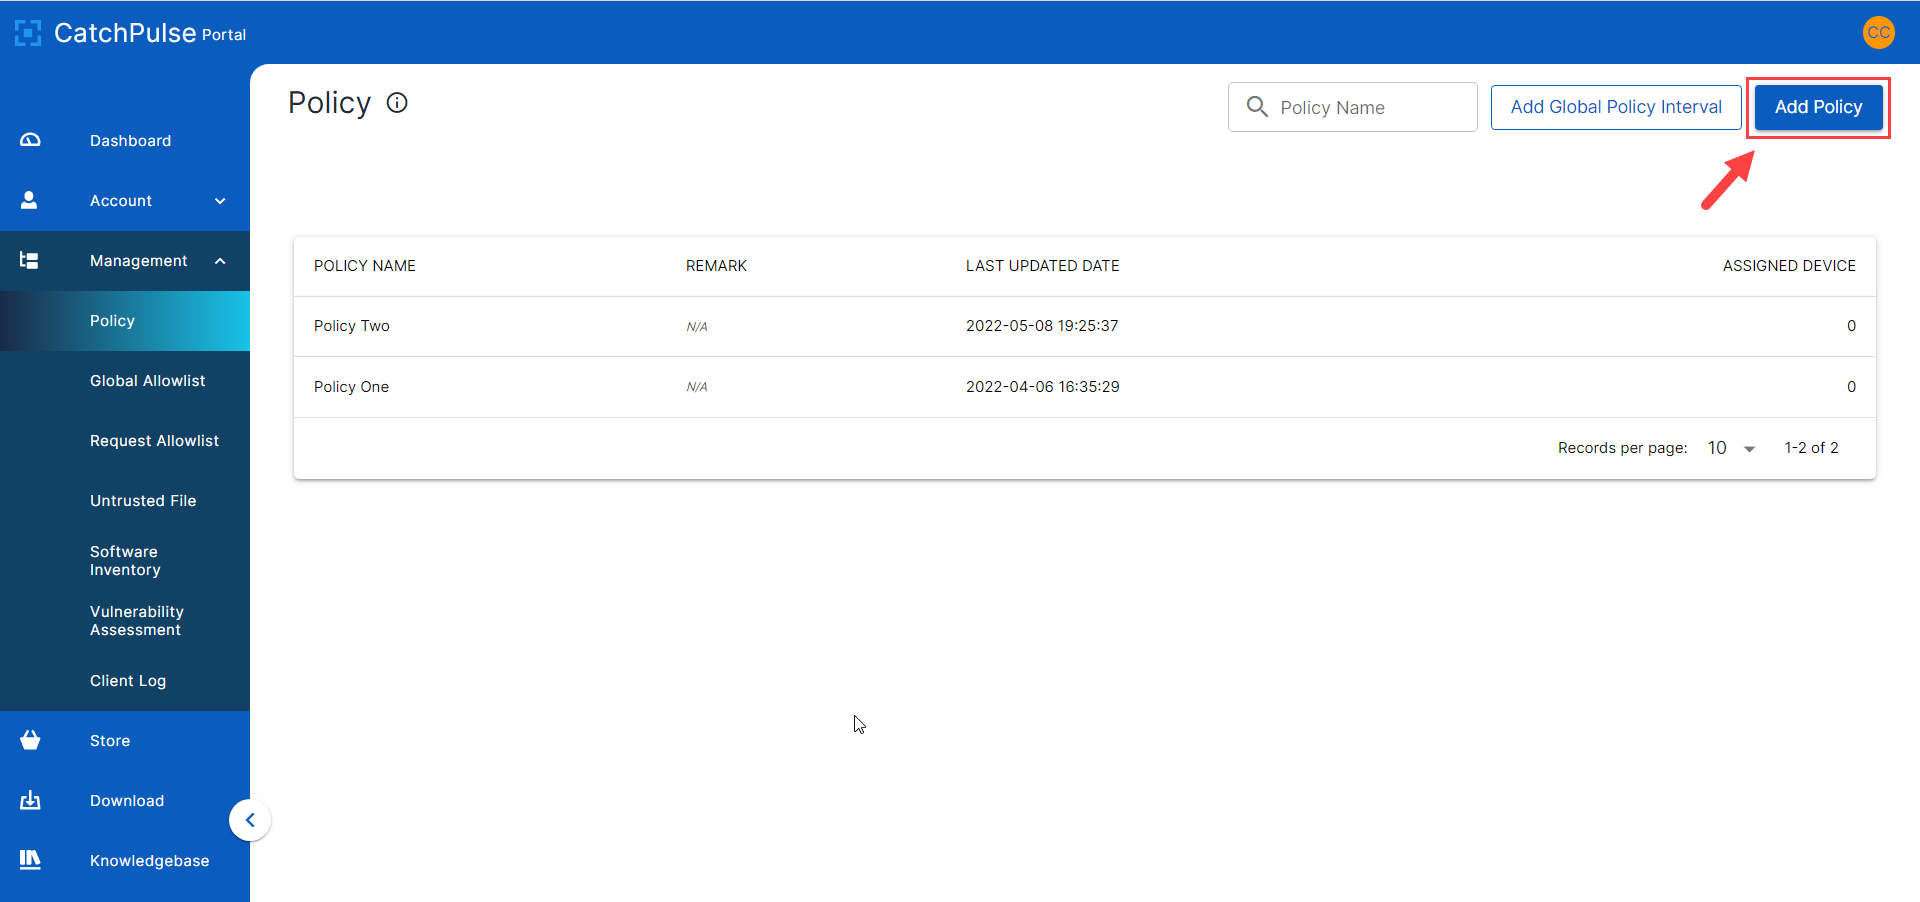
On the CatchPulse Account Portal Summary page, click on Policy.
-
On the Policy page, click Add Policy.
-
Begin pre-defining a collection of customized settings for a linked CatchPulse installation.
Note: Inherit Default toggle and drop-down choices means that the pre-defined settings that as determined by the CatchPulse team (i.e. software default settings) will be taken into account in addition to anything that the user has set.
Client Settings tab
1 |
In the Policy Info sub-tab, enter a name for the policy. Make sure to use a name that will help in identifying this policy from the default and other policies (i.e. name of a department, company user type, privilege level, etc). After naming the policy, you may begin pre-defining a collection of customized settings for a linked CatchPulse installation.
|
2 |
In the Cloud AV sub-tab, specify Full System Scan, Automatic Full System Scan, On Demand Scanning, Real-time Scanning and Daily Upload Limit settings or inherit the default setting for each.
|
3 |
In the Antivirus Settings sub-tab, specify a preferred AI Scan Sensitivity, Antivirus, and Real-Time Scanning settings or inherit the default setting for each.
|
4 |
In the Exclusions sub-tab, specify the files or folders to be excluded from scanning.
|
5 |
In the Trusted Groups sub-tab, specify the Trusted Groups who will have the rights to
To specify the Trusted Groups:
|
6 |
In the Trusted Users sub-tab, specify the Trusted Users who will have the rights to
To specify the Trusted Users:
|
Application Allowlisting Settings tab
1 |
In the General sub-tab, specify Observation Mode,Trust based on digital signature, and Auto Adjust Trust Level or inherit the default setting for each. |
2 |
In the Restricted Applications sub-tab, you can add an application to a Restricted Applications list, so that it will not automatically bring in other applications that may potentially harm the user’s system.
To add an application to a Restricted Applications list:
|
3 |
Only applications which have their certificate listed under the Trusted Certificate list will be trusted. In the Trusted Certificates sub-tab, click here to add trusted certificates into a policy in CatchPulse Account Portal. |
4 |
In Application Allowlisting, executing a script requires both the script interpreter (which executes the script) and the script file itself to be trusted. The script interpreter will refuse to open any non-trusted file. If the script has a higher trust level than the script interpreter, the script interpreter trust level will match its trust level to the trust level of the script file. On the other hand, if the script has a lower trust level than the script interpreter, the script interpreter will be running at its own trust level. To manage Script Interpreters in CatchPulse Portal Scripts sub-tab:
|
5 |
Command Line Rules extend the allowlisting coverage to file-less attacks that make use of already trusted applications to infect PCs. Such attacks do not exist as a file and can remain undetected by Anti-malware programs and threaten the security of the user’s system. This advanced feature of CatchPulse enables users to make additional rules on top of the default ones to increase the overall security of CatchPulse according to user preference and technical knowledge. To add more Command Line Rules in CatchPulse Portal Command Line sub-tab:
|
6 |
In the Removable Device customize how external removable storage devices are treated when inserted or inherit the default setting for each. Additionally, you can also add a User-defined allowlisted removable storage device in the Removable Device sub-tab. To add more User-defined allowlisted removable Storage Device in CatchPulse Portal Removable Device sub-tab:
5. Once all settings have been finalized for the policy, click on Save to add this to your My Policy list or implement any of the changes if you were editing an existing listed policy. After creating a policy you can then assign it to CatchPulse Pro installation linked to your account with the Policy Add-On feature. |
Learn more on How to Setup an Installation Managed by CatchPulse Portal
Support and feedback
Should you encounter any issues using CatchPulse with any of the mentioned or missed requirements above, you can write to us at docs@secureage.com.
This page was last updated: January 02, 2026


